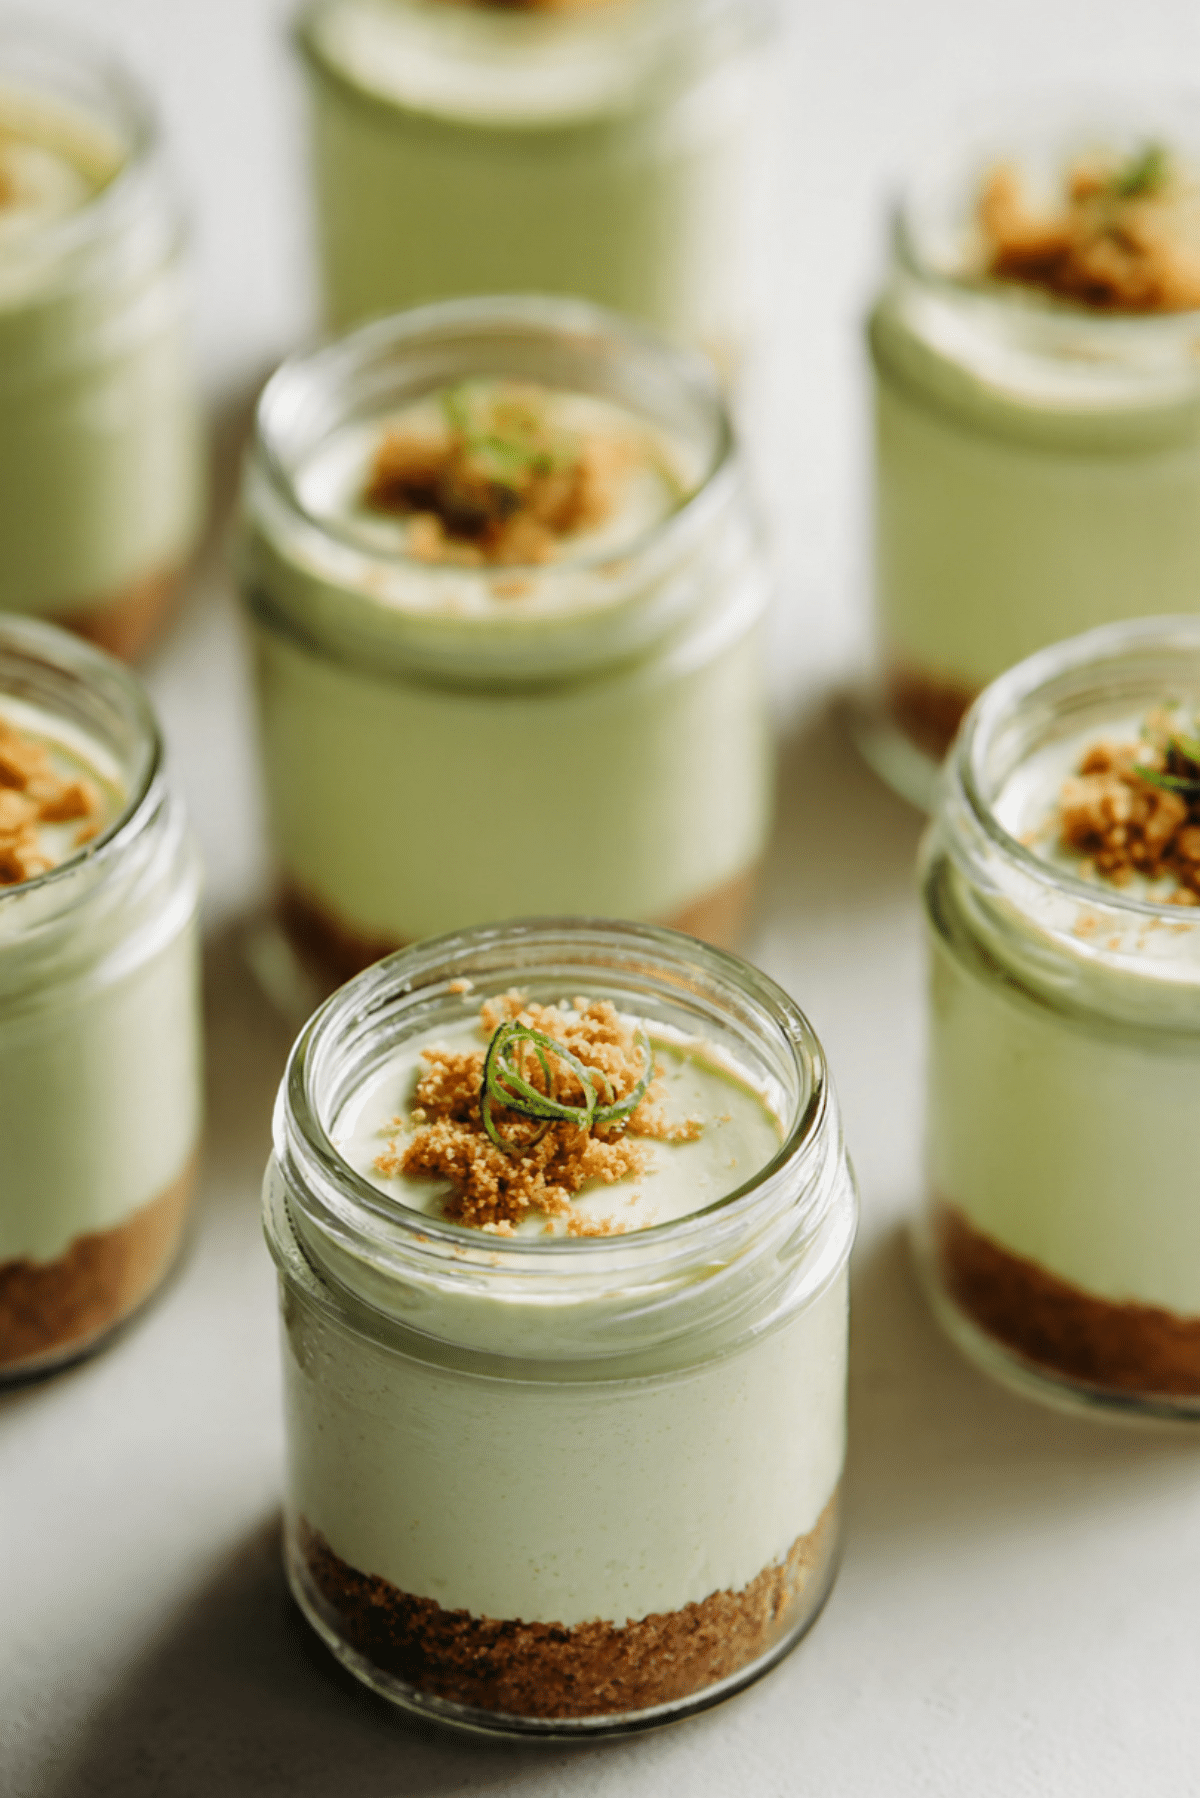
No-bake Key Lime Cheesecake Jars
The moment you open the fridge and grab one of these chilled jars, you already know you are in for something special. This no-bake key lime cheesecake jars recipe is bright, creamy, and just the right amount of tangy. It melts smoothly on your tongue, while the crumb base adds a gentle crunch that makes every bite feel complete. Trust me, you’re going to love this.
A Fresh and Creamy Treat That Feels Effortless
And now let’s dive into why this dessert feels like such a win. It gives you all the richness of a classic cheesecake without turning on the oven. The citrusy lime cuts through the creaminess, creating a balance that feels light yet satisfying. It is the kind of treat you make once and then keep coming back to.
A Little Citrus Story Worth Knowing
As we move along, it is fun to see where this flavor comes from. Key lime desserts have roots in coastal regions, especially in Florida, where the small, aromatic limes bring a sharper and more vibrant flavor than regular limes. When paired with creamy textures, the result is refreshing and indulgent at the same time.
Why This Recipe Just Works Every Time
Before getting into the details, here is what makes this one stand out.
Versatile: Perfect for parties, quick desserts, or even a refreshing afternoon snack.
Budget-Friendly: Uses simple ingredients that are easy to find.
Quick and Easy: No baking required, just mix, layer, and chill.
Customizable: You can adjust sweetness or lime intensity to your taste.
Crowd-Pleasing: Everyone loves individual desserts in jars, they feel special and fun.
Make-Ahead Friendly: Prepare in advance and chill until ready to serve.
Great for Leftovers: They store beautifully and taste even better the next day.
Simple Tricks That Make a Big Difference
Now that you are imagining that first bite, here are a few tips to perfect it.
- Use fresh lime juice for the brightest flavor
- Chill the jars long enough so the texture sets properly
- Do not overmix the filling to keep it light
- Taste and adjust sweetness before assembling
Tools You Will Want Within Reach
Before we jump into ingredients, having the right tools helps everything come together smoothly.
Mixing Bowl: For combining the filling ingredients evenly.
Hand Mixer or Whisk: Helps achieve a creamy texture.
Measuring Cups and Spoons: Keeps everything balanced.
Serving Jars or Glasses: Perfect for layering and presentation.
Spatula: Helps fold and assemble neatly.
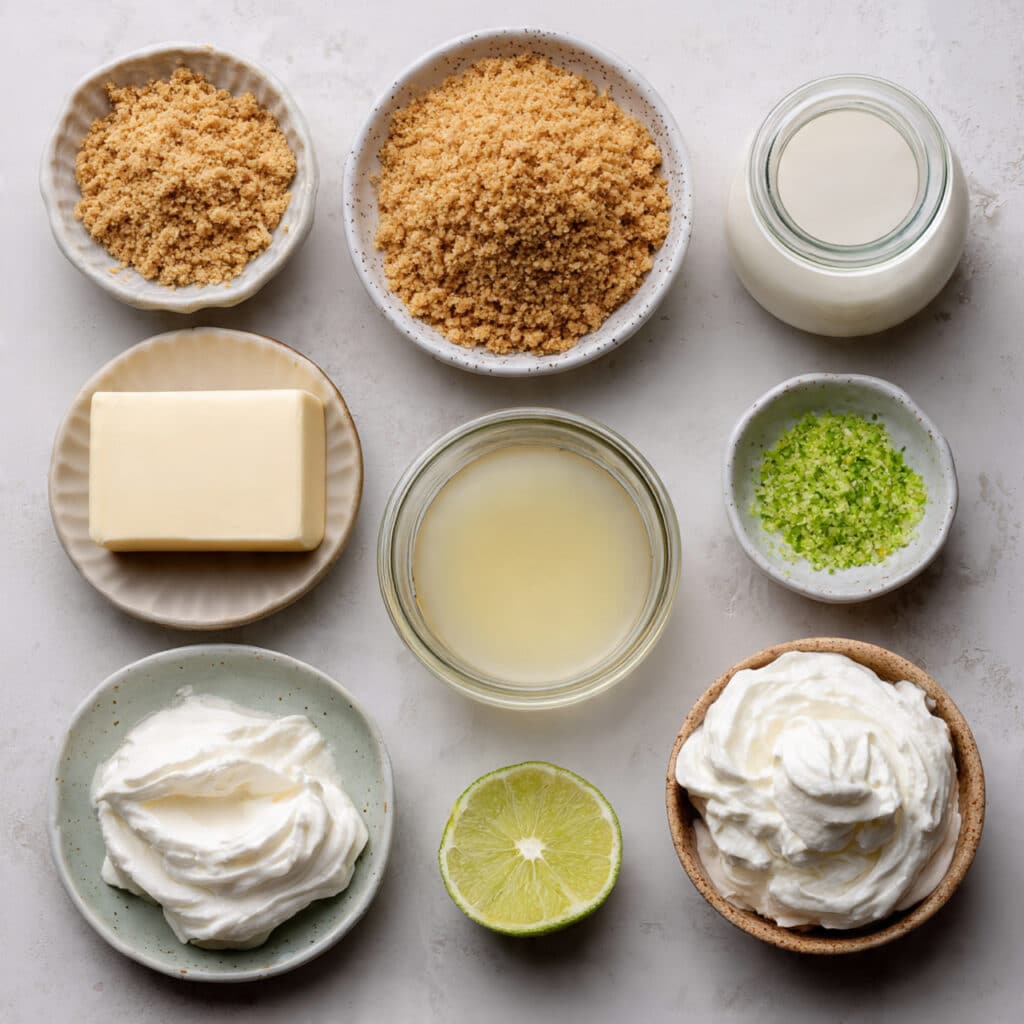
Ingredients That Build All That Flavor
Now let’s gather everything that makes these jars so irresistible.
- Graham Cracker Crumbs: 1 1/2 cups, forms the crunchy base.
- Butter: 1/3 cup melted, binds the crumb layer together.
- Cream Cheese: 8 ounces softened, creates the creamy body.
- Sweetened Condensed Milk: 1 cup, adds sweetness and smooth texture.
- Key Lime Juice: 1/3 cup, gives the signature tangy flavor.
- Lime Zest: 1 teaspoon, enhances citrus aroma.
- Whipped Cream: 1 cup, folded in for a light texture.
Easy Swaps If You Need Them
If you want to tweak things, here are a few ideas.
Graham Crackers: Use digestive biscuits or vanilla cookies.
Key Lime Juice: Regular lime juice works well.
Cream Cheese: Try a lighter version if preferred.
Whipped Cream: Use a dairy-free alternative if needed.
The Star Ingredients That Make It Shine
Let’s highlight what really defines this dessert.
Key Lime Juice: Brings that bright, tangy flavor that balances the sweetness beautifully.
Cream Cheese: Gives the dessert its rich and creamy texture.
Let’s Put It All Together
And now let’s dive into the fun part, assembling your jars.
- Preheat Your Equipment: No preheating needed, just prepare your jars.
- Combine Ingredients: Mix graham crumbs with melted butter until combined.
- Prepare Your Cooking Vessel: Spoon the crumb mixture into jars and press gently.
- Assemble the Dish: Beat cream cheese, condensed milk, lime juice, and zest, then fold in whipped cream. Layer over the crust.
- Cook to Perfection: No cooking required, instead chill for at least 3 hours.
- Finishing Touches: Add extra zest or a light topping if desired.
- Serve and Enjoy: Serve chilled straight from the jar.
Texture and Flavor in Every Spoonful
As it sets, the filling becomes silky and smooth, while the base stays slightly crunchy. The citrus notes cut through the richness, creating a refreshing balance that keeps you coming back for another spoonful.
Helpful Tips for Best Results
- Chill overnight for the best texture
- Use full-fat cream cheese for richness
- Taste the filling before assembling
What to Avoid While Making This Dessert
- Skipping chill time can lead to a soft texture
- Using bottled juice may reduce freshness
- Overmixing can deflate the filling
Quick Nutrition Snapshot
Servings: 6
Calories per serving: 320
Note: These are approximate values.
Time Breakdown for This Recipe
Prep Time: 20 minutes
Cook Time: 0 minutes
Total Time: 3 hours 20 minutes
Make Ahead and Storage Tips
These jars are perfect to make ahead. Store them covered in the fridge for up to three days. They can also be frozen and thawed before serving.
Serving Ideas to Make It Extra Special
Top with extra whipped cream or a sprinkle of lime zest for a bright finish. You can even add a thin slice of lime for presentation.
Creative Ways to Use Leftovers
Turn leftovers into a layered dessert parfait or spread it over pancakes for a citrus twist.
Extra Tips for a Better Result
Always use fresh zest right before mixing to keep the aroma strong and vibrant.
Make It Look as Good as It Tastes
Serve in clear jars so the layers are visible. The contrast between crumb and cream makes it visually appealing.
Fun Variations to Try Next Time
Try adding a coconut layer, mix in crushed berries, or use chocolate crumbs for the base.
FAQ’s
Q1: Can I make this ahead of time?
Yes, it actually tastes better after chilling.
Q2: Can I freeze it?
Yes, just thaw in the fridge before serving.
Q3: Can I use bottled lime juice?
Fresh is best, but bottled works in a pinch.
Q4: How long does it last?
Up to three days in the fridge.
Q5: Can I make it sugar-free?
You can use alternatives, but texture may vary.
Q6: Can I use lemon instead?
Yes, for a different citrus flavor.
Q7: Is it very sweet?
It is balanced with a slight tang.
Q8: Can I double the recipe?
Yes, easily for larger batches.
Q9: What jars should I use?
Any small glass jars or cups work well.
Q10: Can I add toppings?
Absolutely, get creative with fruits or cream.
Conclusion
These no-bake key lime cheesecake jars are everything you want in a dessert, simple, refreshing, and incredibly satisfying. Let me tell you, it’s worth every bite, especially when you want something quick that still feels special.
Print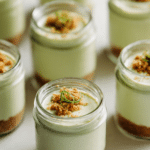
No-bake Key Lime Cheesecake Jars
- Prep Time: 20 minutes
- Cook Time: 0 minutes
- Total Time: 3 hours 20 minutes
- Yield: 6 servings
- Category: Dessert
- Method: No-Bake
- Cuisine: American
- Diet: Vegetarian
Description
Creamy and refreshing no-bake key lime cheesecake jars with a crunchy graham base and a tangy citrus filling.
Ingredients
- 1 1/2 cups graham cracker crumbs
- 1/3 cup melted butter
- 8 ounces cream cheese, softened
- 1 cup sweetened condensed milk
- 1/3 cup key lime juice
- 1 teaspoon lime zest
- 1 cup whipped cream
Instructions
- Mix graham cracker crumbs with melted butter.
- Press mixture into jars to form the base.
- Beat cream cheese until smooth.
- Add condensed milk, lime juice, and zest, mix well.
- Fold in whipped cream gently.
- Spoon mixture over the crust layer.
- Chill for at least 3 hours before serving.
Notes
- Use fresh lime juice for best flavor
- Chill longer for firmer texture
- Do not overmix filling
Nutrition
- Serving Size: 1 jar
- Calories: 320
- Sugar: 22g
- Sodium: 210mg
- Fat: 18g
- Saturated Fat: 10g
- Unsaturated Fat: 6g
- Trans Fat: 0g
- Carbohydrates: 35g
- Fiber: 1g
- Protein: 5g
- Cholesterol: 45mg