Skillet Cobbler
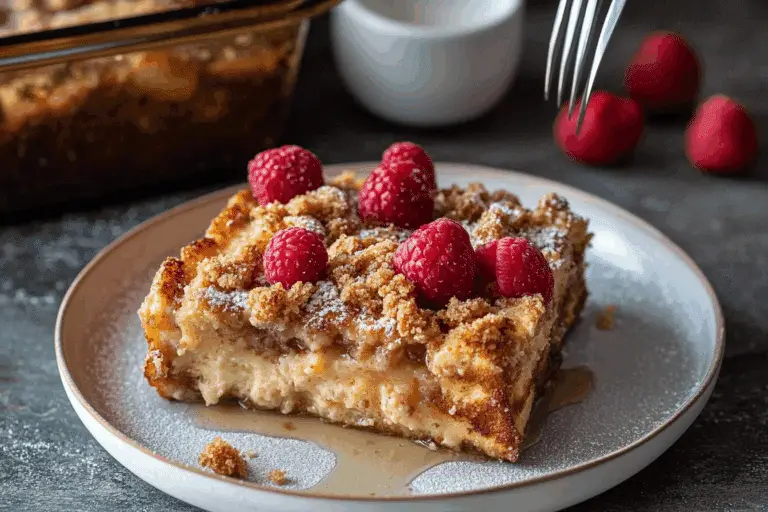
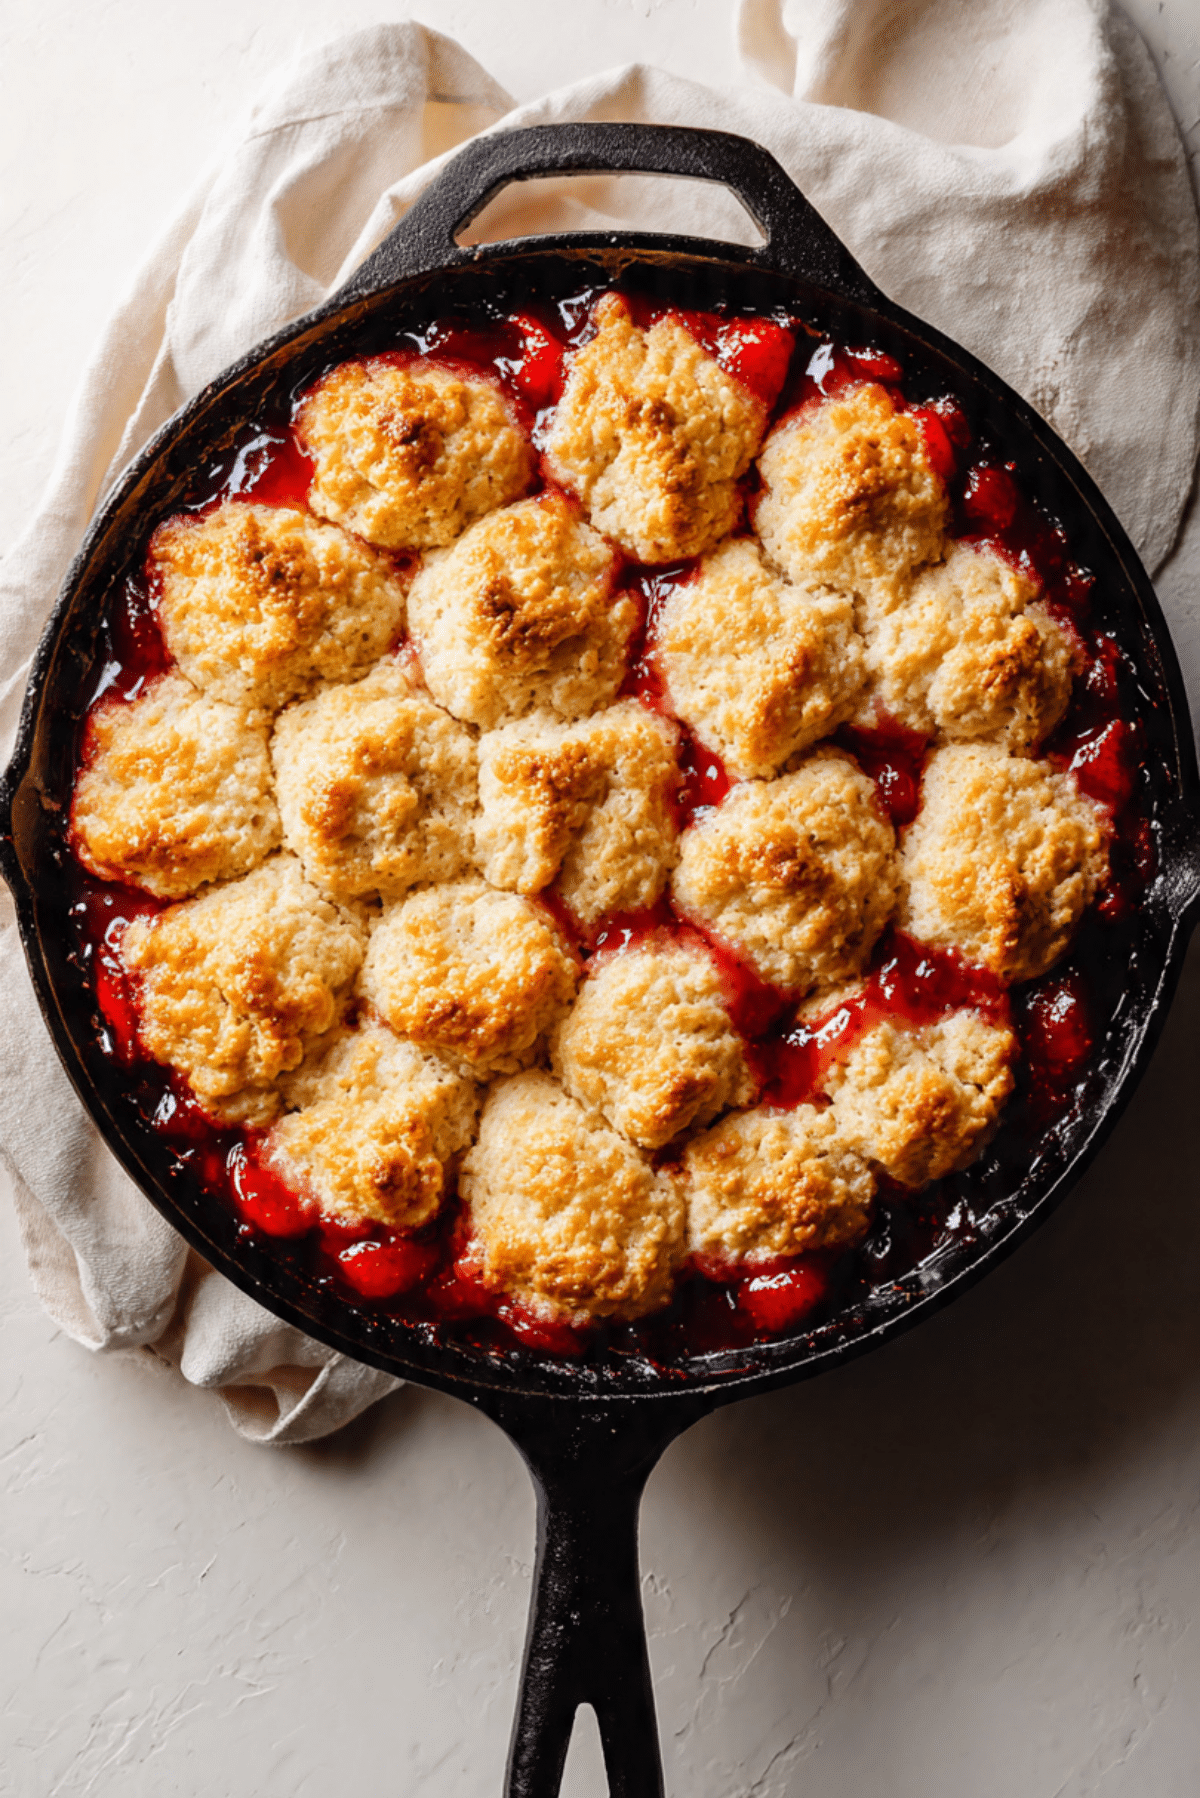
There is something magical about pulling a bubbling Skillet Cobbler straight from the oven. The golden, slightly craggy topping, the sweet fruit peeking through the cracks, and that warm, syrupy aroma filling the kitchen, it feels like comfort in its purest form. This is the kind of dessert that brings everyone to the table without needing an invitation. Trust me, you’re going to love this. It is rustic, simple, and honestly, a little unforgettable.
Why This Rustic Dessert Always Steals the Show
Some desserts try too hard. This one does not. It is humble, baked right in a cast iron skillet, and served warm with all its imperfect beauty on display. The topping bakes into a golden crust while the fruit underneath turns glossy and rich.
The contrast is everything. Crisp edges, soft center, and sweet fruit that melts into every bite. Let me tell you, it’s worth every bite.
A Classic Dessert with Deep Roots
Cobbler has long been a staple in American kitchens, especially in the South. Early settlers adapted traditional puddings into something they could bake over open fires, often topping stewed fruit with biscuit style dough.
Over time, it became a symbol of home baking. Skillet versions became especially popular because cast iron distributes heat beautifully, creating those perfectly caramelized edges we all crave.
Why You Can Rely on This Recipe Every Time
Before we dive into the details, here is why this one deserves a spot in your regular rotation.
Versatile: You can use peaches, berries, apples, or a mix of fruits.
Budget-Friendly: Simple pantry ingredients make it affordable and accessible.
Quick and Easy: Minimal prep and straightforward steps.
Customizable: Adjust sweetness, spices, or fruit combinations easily.
Crowd-Pleasing: Warm fruit and golden topping rarely disappoint.
Make-Ahead Friendly: Prep the fruit mixture ahead and assemble before baking.
Great for Leftovers: It reheats beautifully the next day.
Pro Tips for the Perfect Cobbler Texture
Before we grab the mixing bowls, here are a few insider tips.
- Use ripe peaches for the best natural sweetness and flavor.
- Do not overmix the topping batter, this keeps it tender.
- Let the cobbler rest for at least 10 minutes after baking so the filling thickens slightly.
- Place the skillet on a baking sheet to catch any bubbling juices.
Essential Kitchen Tools You Will Need
You do not need much, which is part of the charm.
Cast Iron Skillet: A 10 inch skillet works perfectly for even baking and crispy edges.
Mixing Bowls: One for the fruit filling and one for the topping.
Whisk: For blending dry ingredients smoothly.
Spatula or Spoon: For gently spreading the topping over the fruit.
Ingredients That Bring It All Together
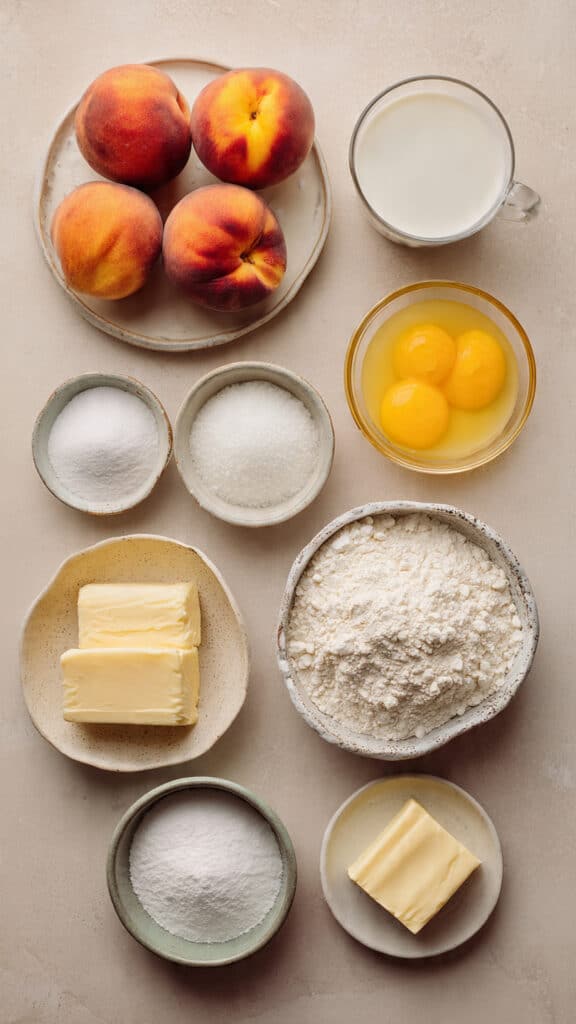
Each ingredient plays a simple but important role in creating that classic cobbler texture and flavor.
- Fresh Peaches: 6 cups, sliced. The juicy base that becomes soft and syrupy as it bakes.
- Granulated Sugar: 1 cup, divided. Sweetens both the fruit and topping.
- Lemon Juice: 1 tablespoon. Brightens the fruit flavor.
- Cornstarch: 1 tablespoon. Thickens the fruit filling.
- All Purpose Flour: 1 cup. Forms the structure of the topping.
- Baking Powder: 1 1/2 teaspoons. Helps the topping rise and become fluffy.
- Salt: 1/2 teaspoon. Balances sweetness.
- Unsalted Butter: 1/2 cup, melted. Adds richness and golden flavor.
- Milk: 3/4 cup. Creates a smooth, pourable batter.
Easy Ingredient Substitutions
Flexibility makes this dessert even better.
Fresh Peaches: Frozen peaches, thawed and drained.
Milk: Almond milk for a dairy free option.
Granulated Sugar: Light brown sugar for a deeper flavor.
Spotlight on the Star Ingredient
Let’s take a moment to appreciate the highlight.
Fresh Peaches: When baked, they soften into tender, juicy bites and release natural sweetness that thickens into a glossy filling.
Let’s Bake This Together
Now let’s dive into the cooking process. Here are the steps you are going to follow.
- Preheat Your Equipment: Preheat your oven to 375 degrees Fahrenheit. Lightly grease your cast iron skillet.
- Combine Ingredients: In a bowl, mix sliced peaches with 1/2 cup sugar, lemon juice, and cornstarch. Toss gently to coat. In a separate bowl, whisk flour, remaining 1/2 cup sugar, baking powder, and salt. Stir in melted butter and milk until just combined.
- Prepare Your Cooking Vessel: Spread the peach mixture evenly into the skillet.
- Assemble the Dish: Spoon or pour the batter evenly over the fruit, allowing some fruit to peek through.
- Cook to Perfection: Bake for 40 to 45 minutes, or until the top is golden brown and the fruit filling is bubbling around the edges.
- Finishing Touches: Remove from oven and let rest for 10 to 15 minutes before serving.
- Serve and Enjoy: Serve warm, ideally with a scoop of vanilla ice cream. This one’s a total game changer.
The Texture and Flavor Experience
The top bakes into a lightly crisp, golden crust with a soft, tender interior. Beneath it, the peaches turn syrupy and sweet with just a hint of brightness from lemon. The edges caramelize slightly against the skillet, creating those irresistible crispy bits.
Each spoonful delivers warmth, sweetness, and a contrast of textures that makes you want another bite.
Helpful Cooking Tips and Tricks
A few small tweaks can elevate your cobbler.
- Add a pinch of cinnamon to the fruit for extra warmth.
- Sprinkle a little sugar on top before baking for a crisp finish.
- Use room temperature milk for smoother batter mixing.
What to Avoid for Best Results
Even simple desserts have small pitfalls.
- Overmixing the batter, which can make the topping dense.
- Using underripe peaches, which can be too firm and less sweet.
- Cutting into it immediately, which makes the filling runny.
Nutritional Overview
Servings: 8
Calories per serving: Approximately 320
Note: These values are approximate and may vary depending on ingredient brands.
Preparation Time
Prep Time: 15 minutes
Cook Time: 45 minutes
Total Time: 1 hour
Make-Ahead and Storage Tips
You can prepare the peach mixture a few hours in advance and store it in the refrigerator. Assemble just before baking for best texture.
Leftovers can be stored covered in the refrigerator for up to 3 days. Reheat in the oven to restore crispness. Freezing is possible, but texture may soften slightly after thawing.
How to Serve It Beautifully
Serve straight from the skillet for a rustic presentation. Add a scoop of vanilla ice cream or a dollop of whipped cream for contrast against the warm fruit.
Creative Leftover Transformations
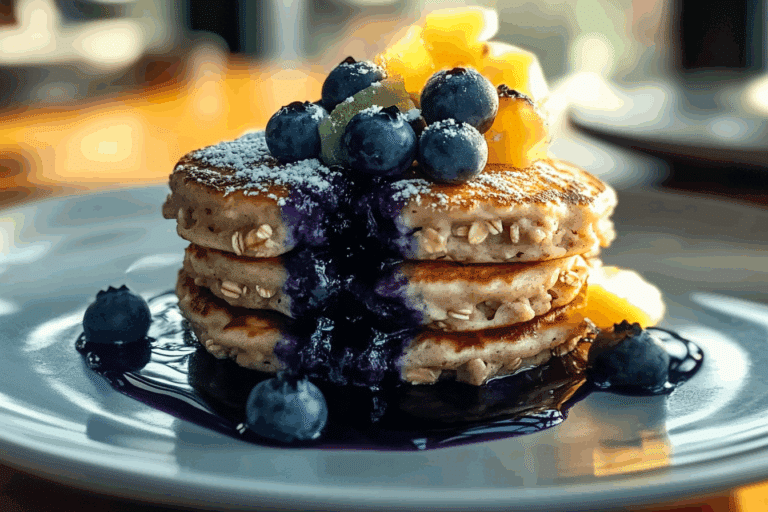
Use leftover cobbler as a topping for pancakes. Layer it into yogurt parfaits for a sweet breakfast twist.
Extra Tips for Flavor and Ease
Taste your peaches before adding sugar and adjust sweetness if needed. If fruit is very juicy, add a touch more cornstarch for thicker filling.
Make It a Showstopper
Bake until deeply golden and let some fruit bubble through the top for a natural, rustic look. Serve in generous scoops so everyone gets both crust and filling.
Variations to Try
- Add blueberries for a mixed berry version.
- Stir in a splash of vanilla extract to the batter.
- Add sliced almonds on top for crunch.
- Use apples and a pinch of nutmeg for a fall twist.
- Replace peaches with cherries for a vibrant change.
FAQ’s
Q1: Can I use frozen peaches?
Yes, thaw and drain them first.
Q2: Do I need a cast iron skillet?
No, but it gives the best crispy edges.
Q3: How do I know when it is done?
The top should be golden and the fruit bubbling.
Q4: Can I reduce the sugar?
Yes, adjust based on fruit sweetness.
Q5: Can I make it dairy free?
Use plant based butter and milk alternatives.
Q6: Why is my filling runny?
It may need more cornstarch or resting time.
Q7: Can I double the recipe?
Yes, use a larger baking dish.
Q8: Can I add spices?
Cinnamon or nutmeg work beautifully.
Q9: How should I store leftovers?
Cover and refrigerate for up to 3 days.
Q10: Can I reheat individual portions?
Yes, warm gently in the oven or microwave.
Conclusion
Skillet Cobbler is one of those desserts that feels timeless and comforting. With its golden crust and bubbling fruit center, it brings warmth and sweetness to any table. Simple ingredients, rustic charm, and incredible flavor come together in a way that feels both nostalgic and completely satisfying. Once you make it, you will find yourself coming back to it again and again.
Print
Skillet Cobbler
- Prep Time: 15 minutes
- Cook Time: 45 minutes
- Total Time: 1 hour
- Yield: 8 servings
- Category: Dessert
- Method: Baking
- Cuisine: American
- Diet: Vegetarian
Description
A warm and rustic skillet cobbler made with juicy peaches and topped with a golden, tender biscuit crust that bakes to perfection in a cast iron skillet.
Ingredients
- 6 cups fresh peaches, sliced
- 1 cup granulated sugar, divided
- 1 tablespoon lemon juice
- 1 tablespoon cornstarch
- 1 cup all purpose flour
- 1 1/2 teaspoons baking powder
- 1/2 teaspoon salt
- 1/2 cup unsalted butter, melted
- 3/4 cup milk
Instructions
- Preheat oven to 375 degrees Fahrenheit and lightly grease a 10 inch cast iron skillet.
- In a bowl, toss sliced peaches with 1/2 cup granulated sugar, lemon juice, and cornstarch until evenly coated.
- Spread the peach mixture evenly into the prepared skillet.
- In a separate bowl, whisk together flour, remaining 1/2 cup sugar, baking powder, and salt.
- Stir in melted butter and milk until just combined, do not overmix.
- Spoon or pour the batter evenly over the peaches, allowing some fruit to peek through.
- Bake for 40 to 45 minutes, until the top is golden brown and the fruit filling is bubbling around the edges.
- Remove from oven and let rest for 10 to 15 minutes before serving.
- Serve warm.
Notes
- Let the cobbler rest before serving to allow the filling to thicken.
- Add a pinch of cinnamon to the peaches for extra warmth if desired.
- Store leftovers covered in the refrigerator for up to 3 days.
- Reheat in the oven to restore crispness.
Nutrition
- Serving Size: 1 serving
- Calories: 320
- Sugar: 28g
- Sodium: 210mg
- Fat: 12g
- Saturated Fat: 7g
- Unsaturated Fat: 4g
- Trans Fat: 0g
- Carbohydrates: 50g
- Fiber: 2g
- Protein: 3g
- Cholesterol: 30mg