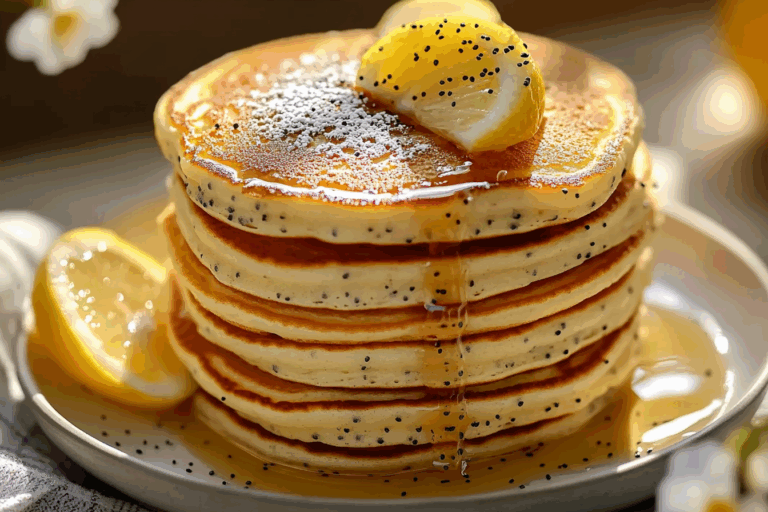
Gluten Free Sourdough Waffles
There is something about the smell of waffles crisping in a hot iron that feels like a slow, cozy morning, even if it is a busy weekday. The gentle tang from sourdough, the golden edges turning perfectly crisp, and that soft, airy center waiting to soak up whatever you drizzle on top. These Gluten Free Sourdough Waffles bring all of that magic together, without sacrificing texture or flavor.
If you have ever struggled to get gluten free waffles that are both crispy outside and fluffy inside, this is the one. Trust me, you’re going to love this. The sourdough starter adds depth and complexity, and let me tell you, it’s worth every bite.
Why These Waffles Are the Ultimate Breakfast Upgrade
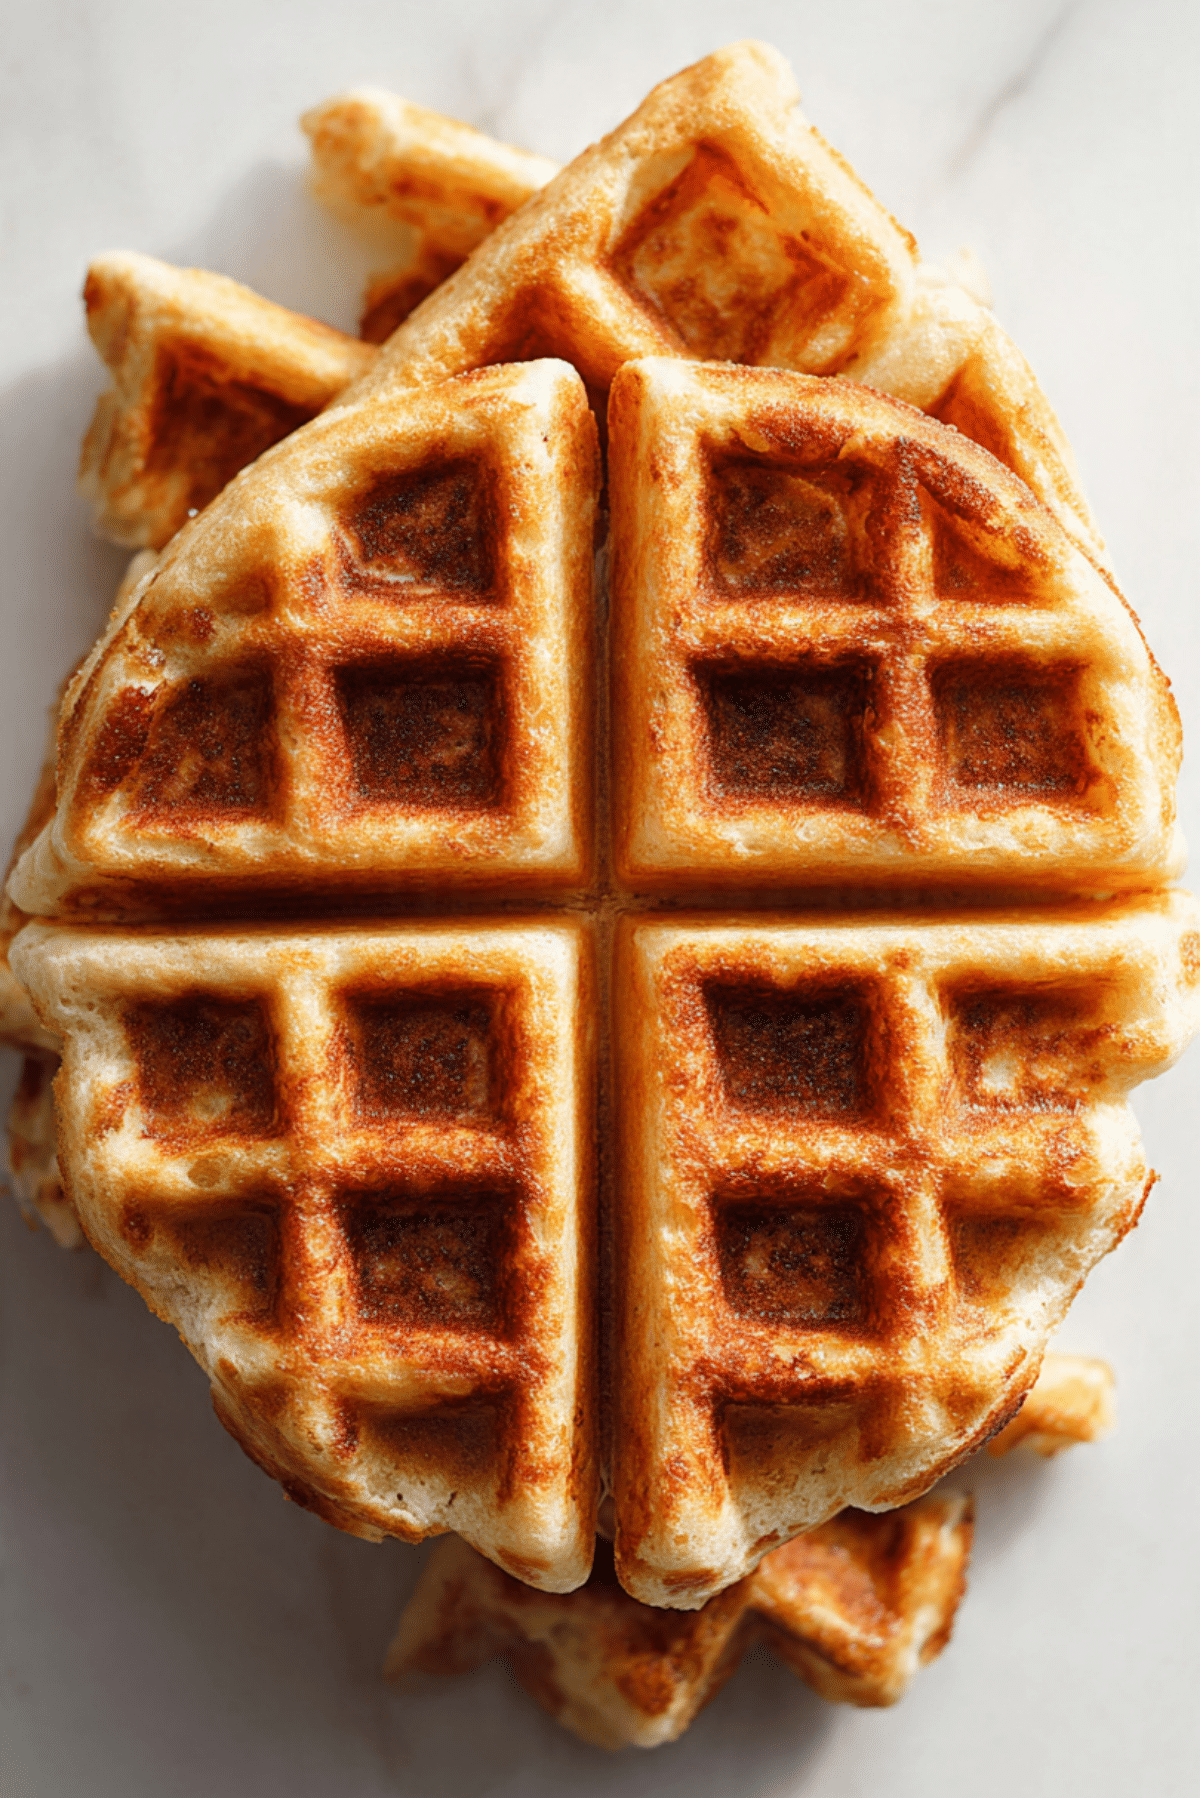
The first thing you notice is the crisp. Those deep pockets turn beautifully golden, with just the right amount of crunch. Then you cut into one and see that tender, airy crumb inside. It is that perfect balance that makes them unforgettable.
The sourdough starter brings a subtle tang that keeps the waffles from tasting flat. Instead, they feel layered and interesting, almost like artisan bread transformed into breakfast form.
A Little Background on Sourdough and Waffle Traditions
Sourdough has been used for centuries, long before commercial yeast became common. It creates flavor slowly and naturally, allowing batters and doughs to develop complexity.
Waffles themselves have roots in European cooking, evolving from simple griddled batters to the deep pocketed irons we know today. Combining gluten free flour with sourdough fermentation creates a modern twist on an old tradition, bringing together heritage technique and dietary flexibility.
Why This Recipe Works So Well
Before we preheat that waffle iron, here is why this recipe is reliable and delicious.
Versatile: Serve them sweet with fruit or savory with eggs and herbs.
Budget-Friendly: Made with simple pantry staples and an active starter.
Quick and Easy: Minimal prep if your starter is already active.
Customizable: Add cinnamon, vanilla, or even chocolate chips.
Crowd-Pleasing: Crispy outside and fluffy inside is always a win.
Make-Ahead Friendly: The batter can rest overnight for deeper flavor.
Great for Leftovers: They freeze beautifully and reheat crisp.
Expert Tips for Perfect Gluten Free Texture
Gluten free batters need a little extra care.
- Let the batter rest for at least 15 minutes to hydrate the flour fully.
- Preheat the waffle iron thoroughly for maximum crispness.
- Do not open the waffle iron too early, steam needs time to escape.
- Lightly grease between batches to prevent sticking.
Essential Tools for Waffle Success
Before we mix, gather these essentials.
Waffle Iron: A deep pocket iron works best for crisp edges.
Mixing Bowls: Separate bowls for wet and dry ingredients.
Whisk: Helps create a smooth, lump free batter.
Measuring Cups and Spoons: Accuracy matters for gluten free baking.
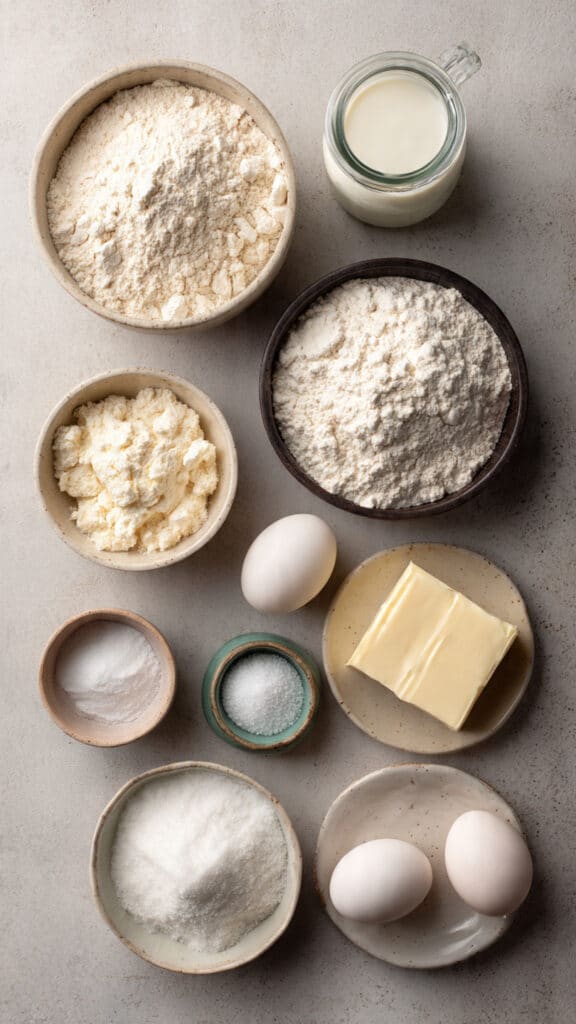
Ingredients You Will Need For These Crisp Waffles
Each ingredient plays a key role in structure and flavor.
- Gluten Free Sourdough Starter: 1 cup active and bubbly, provides tang and natural lift.
- Gluten Free Flour Blend: 1 1/2 cups, gives structure without gluten.
- Large Eggs: 2, help bind and create fluffiness.
- Whole Milk: 1 1/4 cups, adds moisture and richness.
- Unsalted Butter: 1/4 cup melted, adds flavor and crisp edges.
- Granulated Sugar: 2 tablespoons, balances the tang.
- Baking Powder: 1 teaspoon, supports extra lift.
- Baking Soda: 1/2 teaspoon, reacts with the sourdough for light texture.
- Salt: 1/2 teaspoon, enhances flavor.
Easy Substitutions If Needed
Flexibility makes cooking enjoyable.
Whole Milk: Use dairy free milk if preferred.
Unsalted Butter: Coconut oil can replace it for a dairy free version.
Granulated Sugar: Honey can be used in equal amount.
Spotlight on the Sourdough Starter
Gluten Free Sourdough Starter: This is the heart of the recipe. When active and bubbly, it adds natural fermentation that improves both flavor and texture, making the waffles taste far more complex than a standard batter.
Let’s Make the Waffles
Now the fun part begins, and your kitchen is about to smell incredible.
- Preheat Your Equipment: Preheat the waffle iron according to manufacturer instructions.
- Combine Ingredients: In a bowl, whisk together gluten free flour blend, sugar, baking powder, baking soda, and salt. In another bowl, mix sourdough starter, eggs, milk, and melted butter.
- Prepare Your Cooking Vessel: Lightly grease the waffle iron if needed.
- Assemble the Dish: Pour the wet ingredients into the dry and mix until just combined. Let the batter rest for 15 minutes.
- Cook to Perfection: Pour batter into the hot waffle iron and cook until golden brown and crisp, about 4 to 5 minutes depending on your iron.
- Finishing Touches: Transfer waffles to a wire rack to maintain crispness.
- Serve and Enjoy: Serve warm with your favorite toppings.
Texture and Flavor Breakdown
The outside develops a delicate crunch while the inside stays soft and tender. The tang from the sourdough gently lingers, balanced by a hint of sweetness. Every bite feels hearty yet light, satisfying without being heavy.
Helpful Cooking Tips
- Keep finished waffles on a rack instead of stacking them.
- If making a large batch, keep them warm in a low oven.
- Stir the batter gently before each scoop.
What to Avoid for Best Results
- Do not skip the resting time, hydration improves texture.
- Avoid overmixing, it can make the waffles dense.
- Do not stack hot waffles, they will steam and lose crispness.
Nutrition Overview
Servings: 4
Calories per serving: Approximately 310
Note: These values are approximate.
Time Breakdown
Prep Time: 15 minutes
Cook Time: 20 minutes
Total Time: 35 minutes
Make Ahead and Storage Tips
You can prepare the batter the night before and refrigerate it. Cooked waffles freeze well. Let them cool completely, then store in an airtight container. Reheat in a toaster or oven to restore crispness.
Serving Suggestions
Top with fresh berries and yogurt for a bright breakfast. Drizzle with maple syrup for classic comfort. Add savory toppings like fried eggs and herbs for a brunch twist.
Creative Leftover Ideas
Use leftover waffles as a base for breakfast sandwiches. Cut into strips and serve with yogurt dip. Toast and crumble them over fruit for a crunchy topping.
Extra Tips for Flavor and Ease
Add a teaspoon of vanilla extract for extra warmth. A pinch of cinnamon can deepen the flavor profile beautifully.
Make It a Showstopper
Serve on a large platter with colorful fruit arranged in the pockets. A light dusting of powdered sugar can make them look bakery worthy.
Variations to Try
- Add blueberries directly into the batter.
- Stir in chocolate chips for a sweeter treat.
- Mix in chopped nuts for crunch.
- Add lemon zest for brightness.
- Fold in shredded coconut for texture.
FAQ’s
1. Can I use discard starter?
Yes, but add an extra 1/2 teaspoon baking powder for lift.
2. Can I make these dairy free?
Yes, substitute milk and butter with dairy free alternatives.
3. Why are my waffles soft?
They may need more time in the iron or better preheating.
4. Can I double the recipe?
Absolutely, it scales well.
5. Do they freeze well?
Yes, reheat in a toaster for best texture.
6. Can I reduce the sugar?
Yes, slightly, without affecting structure.
7. What flour blend works best?
A balanced gluten free all purpose blend with xanthan gum works well.
8. Can I make them savory?
Yes, reduce sugar and add herbs.
9. Why rest the batter?
It allows the flour to hydrate fully.
10. How do I keep them crisp?
Cool on a rack and avoid stacking.
Conclusion
Gluten Free Sourdough Waffles bring together crisp edges, tender centers, and that irresistible tangy depth that only sourdough can offer. They turn a simple breakfast into something special, something worth slowing down for. Once you make them, do not be surprised if they become your weekend tradition.
Print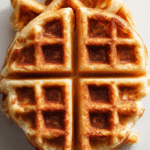
Gluten Free Sourdough Waffles
- Prep Time: 15 minutes
- Cook Time: 20 minutes
- Total Time: 35 minutes
- Yield: 4 servings
- Category: Breakfast
- Method: Waffle Iron
- Cuisine: American
- Diet: Gluten Free
Description
Crispy on the outside and fluffy on the inside, these gluten free sourdough waffles have a gentle tang from active starter and a perfectly golden finish, making them an irresistible breakfast or brunch favorite.
Ingredients
- 1 cup active gluten free sourdough starter
- 1 1/2 cups gluten free flour blend
- 2 large eggs
- 1 1/4 cups whole milk
- 1/4 cup unsalted butter, melted
- 2 tablespoons granulated sugar
- 1 teaspoon baking powder
- 1/2 teaspoon baking soda
- 1/2 teaspoon salt
Instructions
- Preheat the waffle iron according to manufacturer instructions.
- In a large bowl, whisk together gluten free flour blend, granulated sugar, baking powder, baking soda, and salt.
- In a separate bowl, combine the active sourdough starter, eggs, whole milk, and melted butter until smooth.
- Pour the wet ingredients into the dry ingredients and mix gently until just combined.
- Let the batter rest for 15 minutes to allow the flour to hydrate.
- Lightly grease the waffle iron if needed.
- Pour an appropriate amount of batter into the hot waffle iron and cook for 4 to 5 minutes, or until golden brown and crisp.
- Transfer cooked waffles to a wire rack to maintain crispness and repeat with remaining batter.
- Serve warm with your favorite toppings.
Notes
- Do not overmix the batter to keep the waffles light and fluffy.
- Allow the batter to rest for best texture and structure.
- Keep finished waffles on a rack instead of stacking to preserve crisp edges.
- Freeze cooled waffles and reheat in a toaster for a quick breakfast.
Nutrition
- Serving Size: 1 waffle
- Calories: 310
- Sugar: 6g
- Sodium: 280mg
- Fat: 14g
- Saturated Fat: 7g
- Unsaturated Fat: 6g
- Trans Fat: 0g
- Carbohydrates: 38g
- Fiber: 3g
- Protein: 8g
- Cholesterol: 95mg