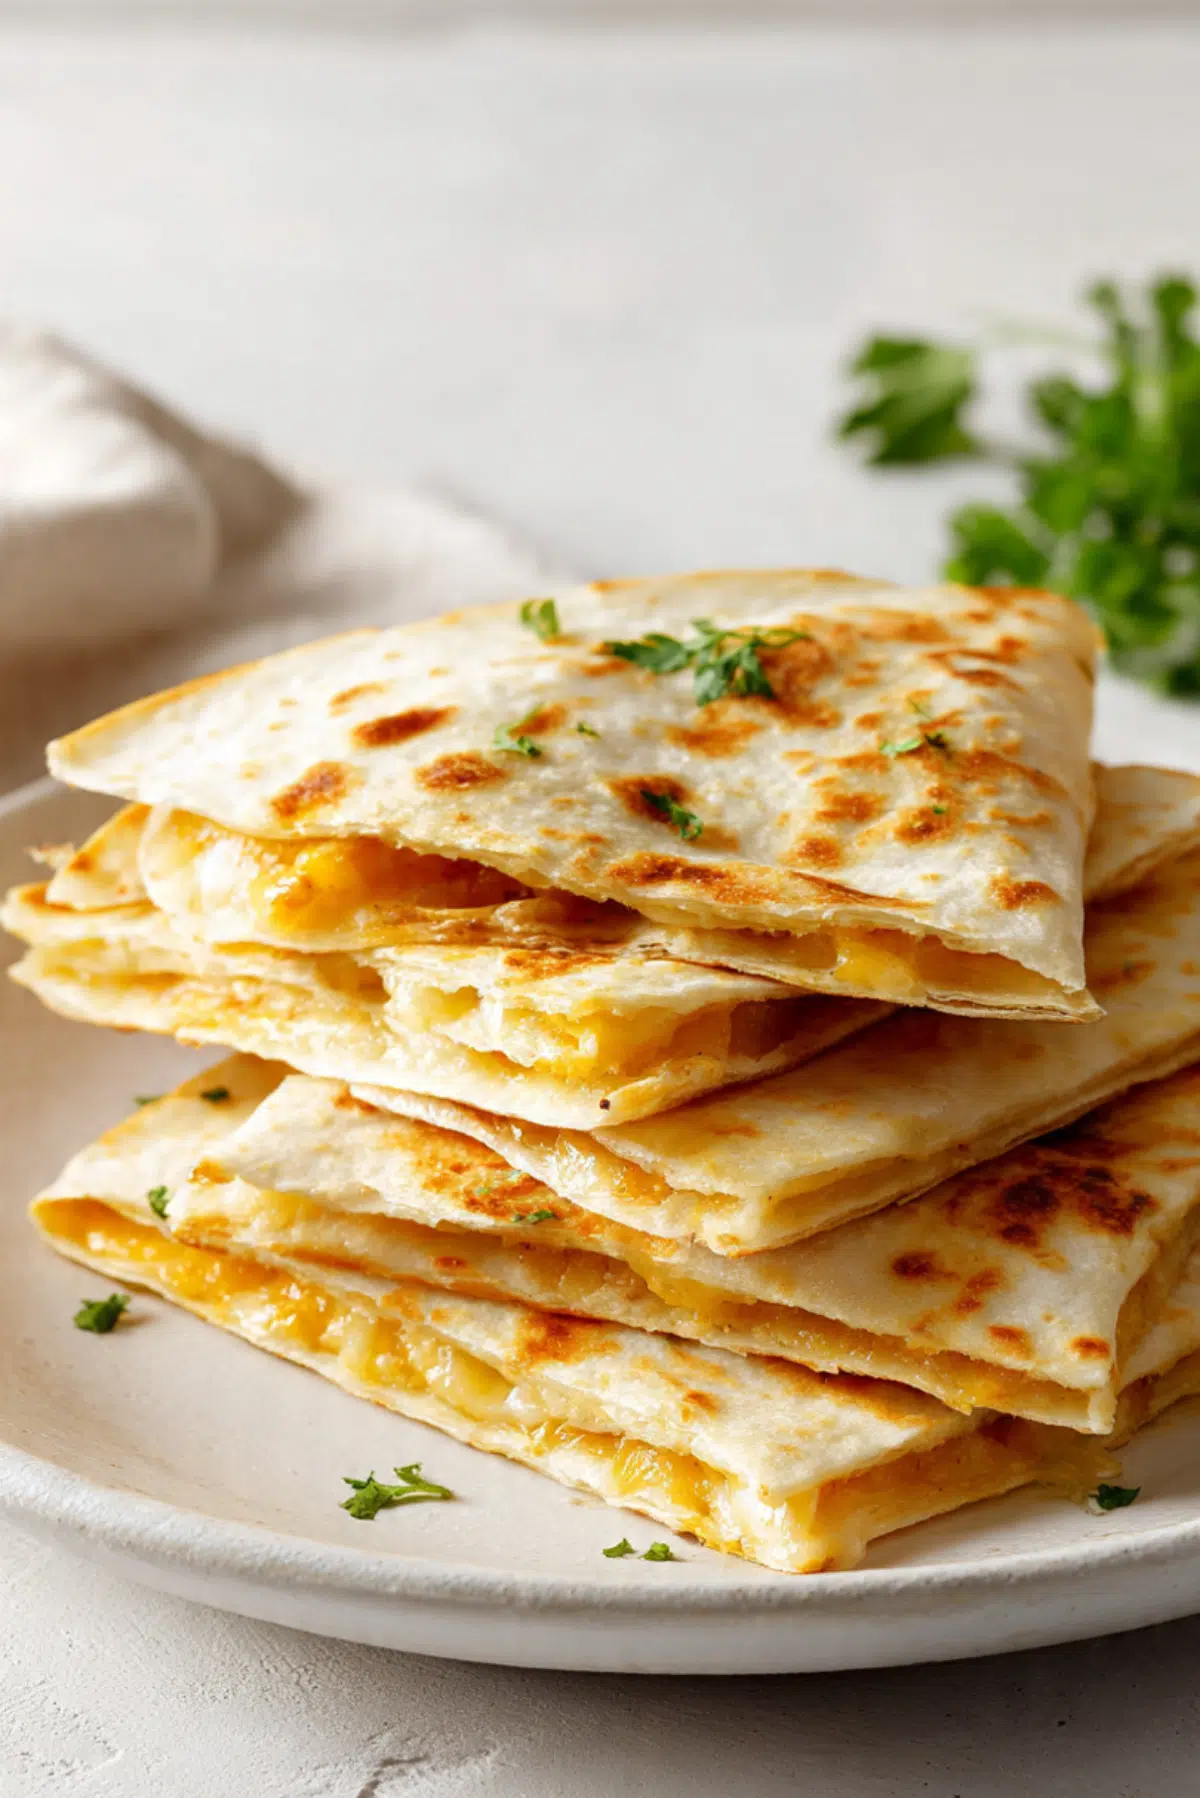
Crispy oven baked quesadillas
There is something incredibly satisfying about biting into a perfectly crispy quesadilla. That golden tortilla shatters slightly at the edges, revealing a warm, melty center that stretches just enough to make you smile. When you bake them in the oven instead of standing over the stove, you get that crunch with way less effort. Trust me, you are going to love this. It is simple, comforting, and honestly a total game changer for busy nights.
Why These Quesadillas Are So Hard to Resist
Oven baking gives you evenly crisp tortillas without flipping one by one in a pan. The cheese melts into every corner, the edges turn beautifully golden, and everything cooks at the same time.
They are perfect for feeding a crowd or just making dinner feel fun again. Crispy outside, gooey inside, and full of savory flavor in every bite.
A Little Background on This Classic Favorite
Quesadillas have deep roots in Mexican cuisine, traditionally made with tortillas and cheese cooked on a griddle. Over time, home cooks started experimenting with fillings and techniques.
Baking them in the oven is a modern twist that keeps the spirit of the original while making the process easier and more practical for families.
What Makes This Recipe So Reliable
Before we head into the kitchen, let me tell you why this one deserves a spot in your regular rotation.
Versatile: You can serve them as a snack, lunch, or dinner.
Budget-Friendly: Simple pantry ingredients like tortillas and cheese keep costs low.
Quick and Easy: Minimal prep and the oven does most of the work.
Customizable: Add vegetables, swap proteins, or change the cheese blend.
Crowd-Pleasing: Crispy tortillas and melted cheese are always a hit.
Make-Ahead Friendly: Assemble them earlier and bake when ready.
Great for Leftovers: They reheat well and stay flavorful.
Pro Tips for Extra Crispiness
Let us make sure that crunch is just right.
- Lightly brush both sides of the tortillas with olive oil for even browning.
- Use a baking sheet that is fully preheated for better crisping.
- Do not overload with filling, balance keeps them crisp.
- Let them rest for a few minutes after baking before slicing.
Kitchen Tools You Will Need
Keep it simple and organized.
Baking Sheet: Large enough to fit multiple quesadillas without overlap.
Parchment Paper: Prevents sticking and helps with cleanup.
Sharp Knife or Pizza Cutter: For clean triangular slices.
Pastry Brush: To spread olive oil evenly.
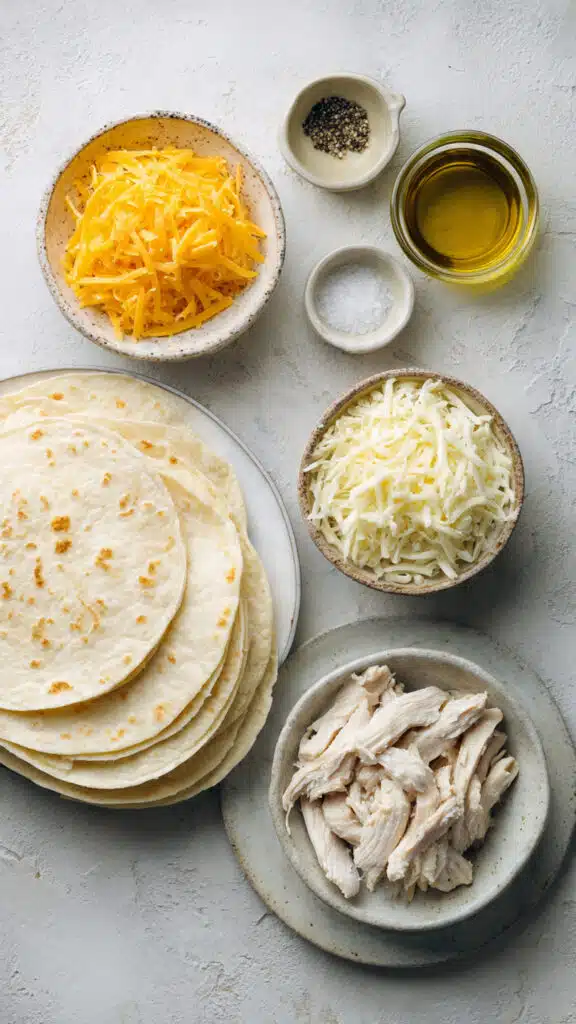
Ingredients You Will Need for Perfect Results
Every ingredient plays a role in texture and flavor.
- Flour Tortillas: 6 large, soft and flexible for easy folding.
- Shredded Cheddar Cheese: 1 1/2 cups, adds sharp flavor and melts beautifully.
- Shredded Mozzarella Cheese: 1 cup, for extra stretch and creaminess.
- Cooked Chicken: 1 1/2 cups sliced or shredded, adds protein and substance.
- Olive Oil: 2 tablespoons, for brushing and crisping.
- Salt: 1/2 teaspoon, enhances overall flavor.
- Black Pepper: 1/4 teaspoon, adds gentle warmth.
Easy Substitutions If Needed
Cooking should feel flexible.
Cheddar Cheese: Try Monterey Jack for a milder taste.
Mozzarella Cheese: Pepper Jack adds a hint of spice.
Chicken: Swap with sautéed vegetables for a vegetarian version.
Spotlight on the Crispy Factor
Two ingredients really shine here.
Flour Tortillas: They crisp beautifully in the oven while staying sturdy enough to hold the filling.
Cheese Blend: The combination of cheddar and mozzarella gives both flavor and that irresistible melt.
Let Us Get Cooking
Here are the steps you are going to follow.
- Preheat Your Equipment: Preheat your oven to 425 degrees Fahrenheit and line a baking sheet with parchment paper.
- Combine Ingredients: In a bowl, mix shredded cheddar, shredded mozzarella, cooked chicken, salt, and black pepper.
- Prepare Your Cooking Vessel: Lightly brush one side of each tortilla with olive oil and place them oil side down on the baking sheet.
- Assemble the Dish: Sprinkle the cheese and chicken mixture evenly over one half of each tortilla. Fold the other half over to create a half moon shape.
- Cook to Perfection: Brush the tops lightly with olive oil and bake for 12 to 15 minutes, flipping halfway through, until golden brown and crispy.
- Finishing Touches: Remove from oven and let rest for 3 to 5 minutes before slicing into triangles.
- Serve and Enjoy: Serve warm while the cheese is perfectly melted and the tortillas are crisp.
Texture and Flavor in Every Bite
The outside is crisp and lightly blistered, while the inside stays warm and gooey. The cheddar adds bold flavor, the mozzarella brings stretch, and the chicken gives it heartiness. It is balanced, comforting, and deeply satisfying.
This one is a total game changer when you want something quick but impressive.
Helpful Cooking Tips
Keep these in mind for best results.
- Flip carefully halfway through baking for even browning.
- Slice with a sharp knife to keep layers intact.
- Serve immediately for maximum crispiness.
What to Avoid for Best Results
Even simple recipes need attention.
- Overfilling can cause soggy tortillas.
- Skipping the oil can prevent proper crisping.
- Baking at too low temperature may result in soft tortillas.
Nutrition Facts
Servings: 3
Calories per serving: 540
Note: These values are approximate.
Preparation Time
Prep Time: 10 minutes
Cook Time: 15 minutes
Total Time: 25 minutes
Make-Ahead and Storage Tips
You can assemble the quesadillas a few hours ahead and store them covered in the refrigerator. Bake just before serving for the best texture.
Leftovers can be refrigerated for up to three days. Reheat in the oven at 375 degrees Fahrenheit for about 8 minutes to restore crispness.
How to Serve Them Beautifully
Arrange the sliced triangles on a large platter. Pair with a fresh salad or simple side of roasted vegetables. A squeeze of fresh lime on top adds brightness.
Creative Leftover Transformations
Chop leftover pieces and toss them into a salad. Wrap them in foil and pack for lunch. Dice and add to scrambled eggs for a hearty breakfast twist.
Additional Tips for Success
Always preheat the oven fully before baking. Use evenly shredded cheese for consistent melting. Let them cool slightly before cutting to avoid filling spilling out.
Make It a Showstopper
Stack the triangles slightly overlapping on a platter for visual height. Sprinkle a small amount of chopped parsley on top for color contrast.
Variations to Try
- Add sautéed bell peppers and onions for extra flavor.
- Mix in black beans for added texture.
- Sprinkle a pinch of chili powder into the cheese mixture for warmth.
- Use whole wheat tortillas for a nuttier taste.
FAQ’s
Q1: Can I make these vegetarian?
Yes, simply omit the chicken and add vegetables.
Q2: Can I freeze them?
Yes, freeze after baking and reheat in the oven.
Q3: How do I keep them crispy?
Bake at high heat and avoid overfilling.
Q4: Can I use corn tortillas?
Yes, but they may be slightly less flexible.
Q5: What cheese melts best?
Mozzarella and cheddar both melt beautifully.
Q6: Can I air fry them?
Yes, cook at 400 degrees Fahrenheit for about 8 to 10 minutes.
Q7: Why are mine soggy?
Too much filling or not enough heat can cause this.
Q8: Can I add spices?
Absolutely, cumin or chili powder work well.
Q9: How long can they sit out?
No more than two hours at room temperature.
Q10: Can I double the recipe?
Yes, just use multiple baking sheets if needed.
Conclusion
Crispy oven baked quesadillas bring together golden crunch and gooey comfort in the easiest way possible. They are quick, reliable, and endlessly adaptable. Once you hear that first crisp bite and see that melted cheese stretch, you will know this recipe is a keeper.
Print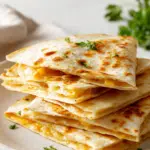
Crispy oven baked quesadillas
- Prep Time: 10 minutes
- Cook Time: 15 minutes
- Total Time: 25 minutes
- Yield: 3 servings
- Category: Main Course
- Method: Baking
- Cuisine: Mexican Inspired
- Diet: Low Lactose
Description
Golden crispy oven baked quesadillas filled with melted cheddar and mozzarella cheese and tender chicken. Perfectly crunchy on the outside and gooey inside, making them an easy and satisfying meal.
Ingredients
- 6 large flour tortillas
- 1 1/2 cups shredded cheddar cheese
- 1 cup shredded mozzarella cheese
- 1 1/2 cups cooked chicken, sliced or shredded
- 2 tablespoons olive oil
- 1/2 teaspoon salt
- 1/4 teaspoon black pepper
Instructions
- Preheat oven to 425 degrees Fahrenheit and line a baking sheet with parchment paper.
- In a mixing bowl, combine shredded cheddar cheese, shredded mozzarella cheese, cooked chicken, salt, and black pepper.
- Lightly brush one side of each tortilla with olive oil.
- Place tortillas oil side down on the prepared baking sheet.
- Evenly distribute the cheese and chicken mixture over one half of each tortilla.
- Fold the empty half over the filling to form a half moon shape.
- Brush the tops lightly with the remaining olive oil.
- Bake for 12 to 15 minutes, flipping carefully halfway through, until golden brown and crispy.
- Remove from oven and let rest for 3 to 5 minutes before slicing into triangles and serving.
Notes
- Avoid overfilling to keep the tortillas crispy.
- For extra browning, bake on the top oven rack during the last few minutes.
- Reheat leftovers in the oven at 375 degrees Fahrenheit for about 8 minutes to restore crispness.
Nutrition
- Serving Size: 2 quesadilla halves
- Calories: 540
- Sugar: 2g
- Sodium: 760mg
- Fat: 30g
- Saturated Fat: 12g
- Unsaturated Fat: 16g
- Trans Fat: 0g
- Carbohydrates: 38g
- Fiber: 2g
- Protein: 32g
- Cholesterol: 85mg