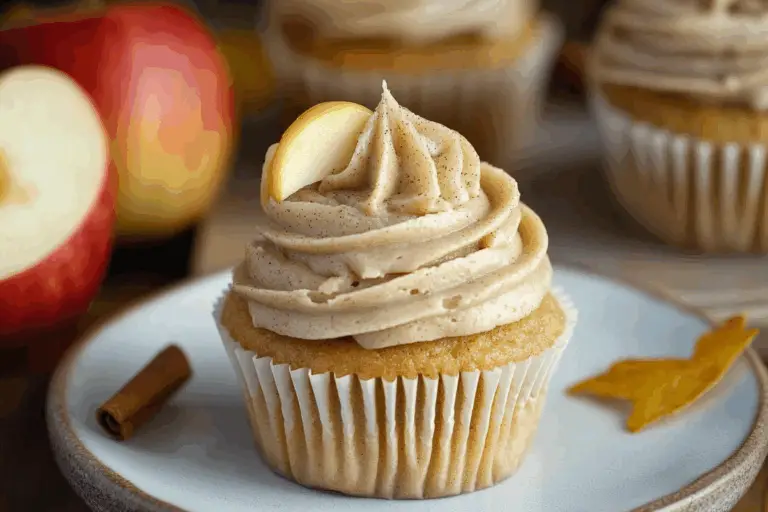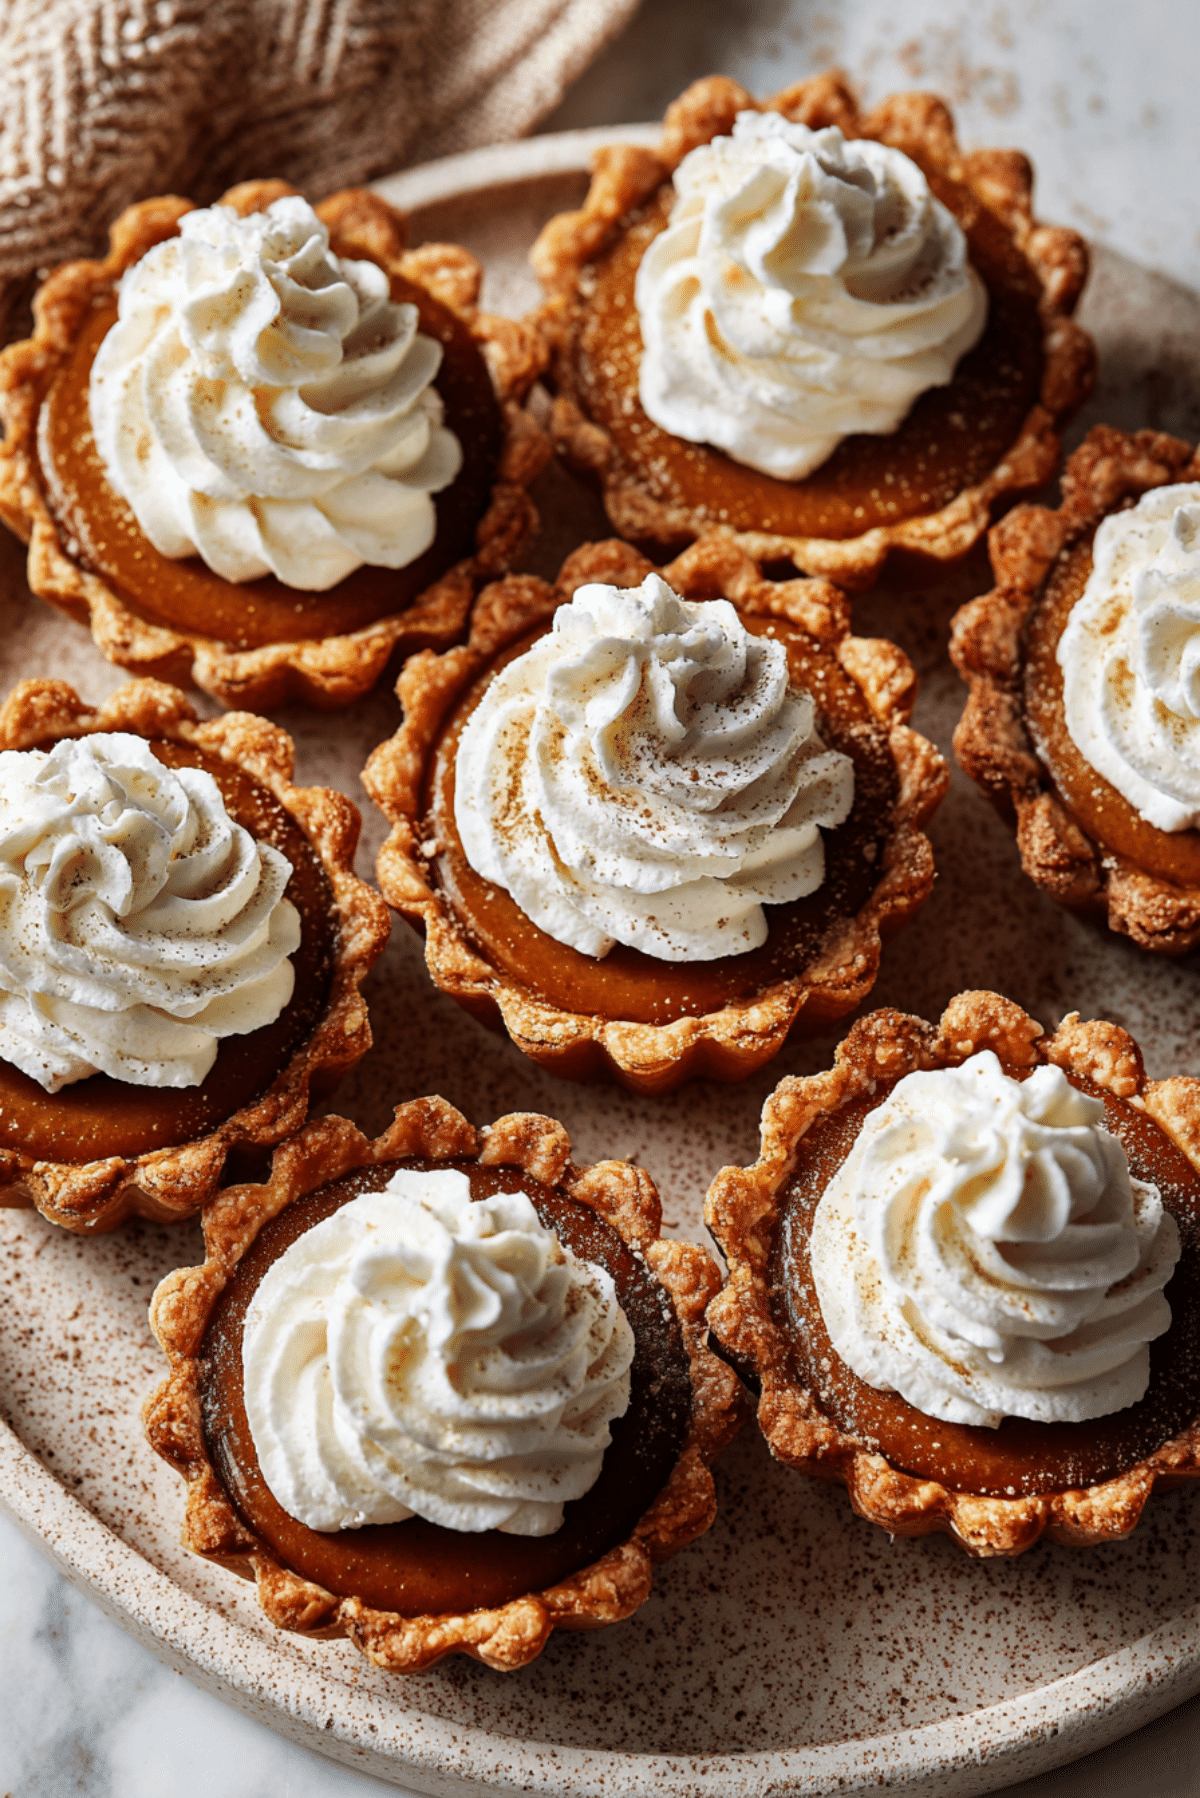
Mini Pumpkin Pies
There’s something so cozy about the smell of pumpkin spice filling the kitchen, especially when it’s wrapped up in adorable, bite-sized pies. These Mini Pumpkin Pies are the kind of treat that makes people gather around the table before they’re even out of the oven. Golden, flaky crusts cradling warm, spiced pumpkin filling, topped with a swirl of whipped cream — they’re like tiny bites of autumn.
Behind the Recipe
Mini Pumpkin Pies were born from one of those last-minute “what can I bring?” moments before a fall get-together. The big pie felt too formal, so I thought — why not make them mini? They turned out not only easier to share, but everyone loved the individual servings. These little pies quickly became a staple for holidays, bake sales, and those random Sundays where a little pumpkin fix was just needed.
Recipe Origin or Trivia
Pumpkin pie has deep roots in American history, showing up at colonial harvest feasts long before it became a Thanksgiving classic. Originally, pumpkins were hollowed and filled with milk, honey, and spices, then baked in hot ashes. The modern version evolved over centuries. Mini pies, however, are a more recent twist — perfect for parties and portion control. They pack all that rich, creamy filling into a flaky, hand-held shell, without losing the comfort of tradition.
Why You’ll Love Mini Pumpkin Pies
Let me tell you, these little pies are dangerously easy to fall in love with. Here’s why:
Versatile: Serve them warm, chilled, or at room temp. They fit every season and occasion.
Budget-Friendly: Uses pantry staples and stretches one can of pumpkin far.
Quick and Easy: No rolling dough from scratch if you use store-bought crust.
Customizable: Add nuts, change the spices, or even use a gingersnap crust.
Crowd-Pleasing: Perfectly portioned for gatherings and kid-friendly too.
Make-Ahead Friendly: Bake ahead and refrigerate for up to 3 days.
Great for Leftovers: They stay tasty the next day, even straight from the fridge.
Chef’s Pro Tips for Perfect Results
You’re just a few simple tricks away from bakery-worthy minis.
- Use a flower-shaped cookie cutter for extra cute crusts that hug the filling.
- Don’t overfill — a tablespoon or so per crust is plenty.
- Let them cool before adding whipped cream so it doesn’t melt.
- Use a mini muffin pan for the perfect snug shape.
- Chill the dough slightly if it gets too soft while cutting shapes.
Kitchen Tools You’ll Need
You won’t need anything fancy, just the right tools to make it easy.
Mini muffin pan: To shape and bake the perfect little pies.
Mixing bowls: For blending the creamy pumpkin filling.
Cookie cutter: A round or flower shape works best for the crust.
Whisk: To make sure the filling is smooth and lump-free.
Measuring cups and spoons: Precision matters for spices and sweetness.
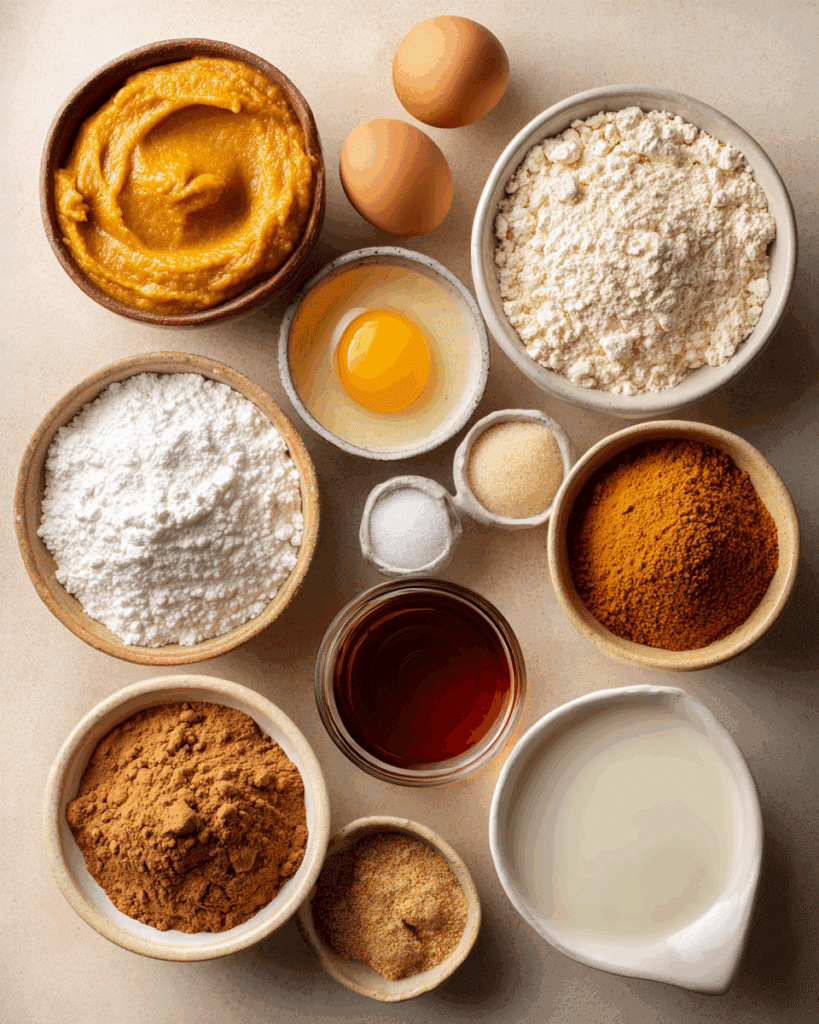
Ingredients in Mini Pumpkin Pies
Each ingredient plays its part in creating warm, spiced magic in every bite.
- Pie Crust: 1 package (2 sheets) refrigerated pie dough – Forms the flaky, golden shell that holds it all together.
- Pumpkin Purée: 1 cup – The star of the show, providing rich flavor and creamy texture.
- Large Egg: 1 – Helps bind the filling and gives it that custardy structure.
- Egg Yolk: 1 – Adds extra richness and smoothness to the filling.
- Light Brown Sugar: 1/4 cup packed – Brings warm molasses notes that deepen the flavor.
- Granulated Sugar: 2 tablespoons – Adds just the right sweetness to balance the spices.
- Pumpkin Pie Spice: 1 teaspoon – A cozy blend of cinnamon, nutmeg, ginger, and cloves.
- Ground Cinnamon: 1/4 teaspoon – Enhances the warmth and pairs perfectly with pumpkin.
- Salt: 1/8 teaspoon – Balances the sweetness and intensifies the flavors.
- Vanilla Extract: 1 teaspoon – Adds a touch of aroma and depth.
- Evaporated Milk: 1/2 cup – Makes the filling silky and smooth without being too heavy.
Ingredient Substitutions
Making swaps is easy if you need to adjust for allergies or pantry gaps.
Evaporated Milk: Use half-and-half or heavy cream.
Pumpkin Pie Spice: Mix 1/2 tsp cinnamon, 1/4 tsp nutmeg, 1/8 tsp ginger, and a pinch of clove.
Light Brown Sugar: Dark brown sugar for a stronger molasses taste.
Store-Bought Crust: Use puff pastry or crushed graham crackers with butter.
Ingredient Spotlight
Pumpkin Purée: Not to be confused with pumpkin pie filling, this is 100% pure pumpkin and brings earthy sweetness and that iconic autumn taste.
Evaporated Milk: A pantry hero that adds creaminess without watering down the filling.
Instructions for Making Mini Pumpkin Pies
Making these little beauties is easier than you think. Let’s bake!
- Preheat Your Equipment:
Preheat your oven to 350°F (175°C). Lightly grease a mini muffin tin. - Combine Ingredients:
In a bowl, whisk together pumpkin purée, egg, yolk, both sugars, spices, salt, vanilla, and evaporated milk until smooth. - Prepare Your Cooking Vessel:
Roll out the pie dough and cut into circles (about 3 to 4 inches wide) using a cookie cutter. Gently press into the muffin tin wells. - Assemble the Dish:
Spoon about 1 tablespoon of filling into each crust shell, smoothing the tops. - Cook to Perfection:
Bake for 20 to 25 minutes, until the filling is set and crust is golden brown. - Finishing Touches:
Let them cool completely in the pan, then gently lift out. Top with whipped cream before serving. - Serve and Enjoy:
Serve with a sprinkle of cinnamon or nutmeg, and maybe a drizzle of caramel if you’re feeling fancy.
Texture & Flavor Secrets
The crust bakes up crisp and golden, holding a smooth, spiced custard filling. The contrast of flaky crust with creamy pumpkin and fluffy whipped topping makes each bite a dream. Cinnamon and brown sugar create warmth while the vanilla rounds out the flavor beautifully.
Cooking Tips & Tricks
A few small moves can make a big difference.
- Use chilled dough to avoid shrinking crusts.
- Don’t overfill the cups or they’ll spill during baking.
- Let them sit before removing to keep their shape.
What to Avoid
No one wants soggy pies or bland bites.
- Avoid using pumpkin pie filling — it’s already spiced and sweetened.
- Don’t skip the salt. Even a tiny pinch balances the flavors.
- Don’t rush cooling time or the whipped cream will melt.
Nutrition Facts
Servings: 12
Calories per serving: 135
Note: These are approximate values.
Preparation Time
Prep Time: 15 minutes
Cook Time: 25 minutes
Total Time: 40 minutes
Make-Ahead and Storage Tips
These minis are a dream for prepping ahead. You can bake them a day or two in advance and store them in the fridge. Just hold off on the whipped cream topping until ready to serve. Freeze for up to one month in an airtight container, and thaw in the fridge overnight.
How to Serve Mini Pumpkin Pies
Serve chilled or at room temp with a swirl of whipped cream or a dusting of cinnamon. For something special, try pairing with a scoop of vanilla ice cream or a drizzle of maple syrup.
Creative Leftover Transformations
Leftovers? Lucky you.
- Crumble and layer into a fall-inspired parfait with whipped cream and granola.
- Warm and smash into pancakes or waffles for a seasonal twist.
- Blend into a milkshake with vanilla ice cream and a pinch of spice.
Additional Tips
- Keep your crusts uniform for even baking.
- Taste the filling before baking to adjust spices if needed.
- Always cool completely before storing or topping.
Make It a Showstopper
Use flower-shaped crust cutouts for a beautiful edge. Top each pie with a star of whipped cream and a sprinkle of cinnamon. Arrange on a rustic wooden board with mini pumpkins or fall leaves for an Instagram-worthy display.
Variations to Try
- Maple Pecan Topping: Add a small dollop of chopped pecans and maple syrup before baking.
- Gingersnap Crust: Use crushed gingersnap cookies and butter instead of pie crust.
- Chocolate Swirl: Drop a spoon of melted chocolate on top of the filling and swirl before baking.
- Coconut Milk Filling: Swap evaporated milk for coconut milk for a dairy-free twist.
- Mini Cheesecake Pumpkin Pies: Layer a thin cheesecake filling under the pumpkin.
FAQ’s
Q1: Can I make these ahead of time?
Yes, they stay fresh for up to 3 days in the fridge or a month in the freezer.
Q2: Can I use homemade crust?
Absolutely, homemade crust adds extra flavor and flakiness.
Q3: What’s the best way to cut the dough?
A flower or round cutter works best — aim for 3 to 4 inches wide.
Q4: Can I double the recipe?
Totally! This recipe scales well for larger batches.
Q5: Are they freezer-friendly?
Yes, freeze them without toppings in an airtight container.
Q6: What if I don’t have pumpkin pie spice?
Make your own with cinnamon, nutmeg, ginger, and cloves.
Q7: Can I make them dairy-free?
Yes, use coconut milk instead of evaporated milk and dairy-free whipped topping.
Q8: Can I make them gluten-free?
Use a gluten-free pie crust or crushed gluten-free cookies.
Q9: How do I know when they’re done?
The center should be just set and the crust lightly golden.
Q10: Can I add toppings before baking?
It’s best to add whipped cream or garnishes after baking to avoid melting.
Conclusion
These Mini Pumpkin Pies are everything you love about fall wrapped up in a perfectly portioned, adorable little package. Warm spices, creamy filling, and golden crust come together to make a treat that’s simple yet show-stopping. Trust me, you’re going to love this one — it’s worth every bite.
Print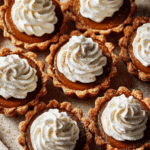
Mini Pumpkin Pies
Description
Mini Pumpkin Pies are bite-sized treats filled with creamy pumpkin custard, wrapped in flaky golden crusts, and topped with whipped cream. Perfect for fall gatherings or anytime you want a little taste of autumn in a single delicious bite.
Ingredients
- 1 package (2 sheets) refrigerated pie dough
- 1 cup pumpkin purée
- 1 large egg
- 1 egg yolk
- 1/4 cup packed light brown sugar
- 2 tablespoons granulated sugar
- 1 teaspoon pumpkin pie spice
- 1/4 teaspoon ground cinnamon
- 1/8 teaspoon salt
- 1 teaspoon vanilla extract
- 1/2 cup evaporated milk
- Whipped cream for topping
Instructions
- Preheat your oven to 350°F (175°C). Lightly grease a mini muffin tin.
- In a bowl, whisk together pumpkin purée, egg, yolk, both sugars, spices, salt, vanilla, and evaporated milk until smooth.
- Roll out the pie dough and cut into circles (about 3 to 4 inches wide) using a cookie cutter. Gently press into the muffin tin wells.
- Spoon about 1 tablespoon of filling into each crust shell, smoothing the tops.
- Bake for 20 to 25 minutes, until the filling is set and crust is golden brown.
- Let them cool completely in the pan, then gently lift out. Top with whipped cream before serving.
Notes
- Use flower-shaped cookie cutters for a decorative crust edge.
- Don’t overfill the mini crusts to avoid spillage.
- Let pies cool before adding whipped cream to prevent melting.
- Store in the fridge for up to 3 days or freeze without topping.