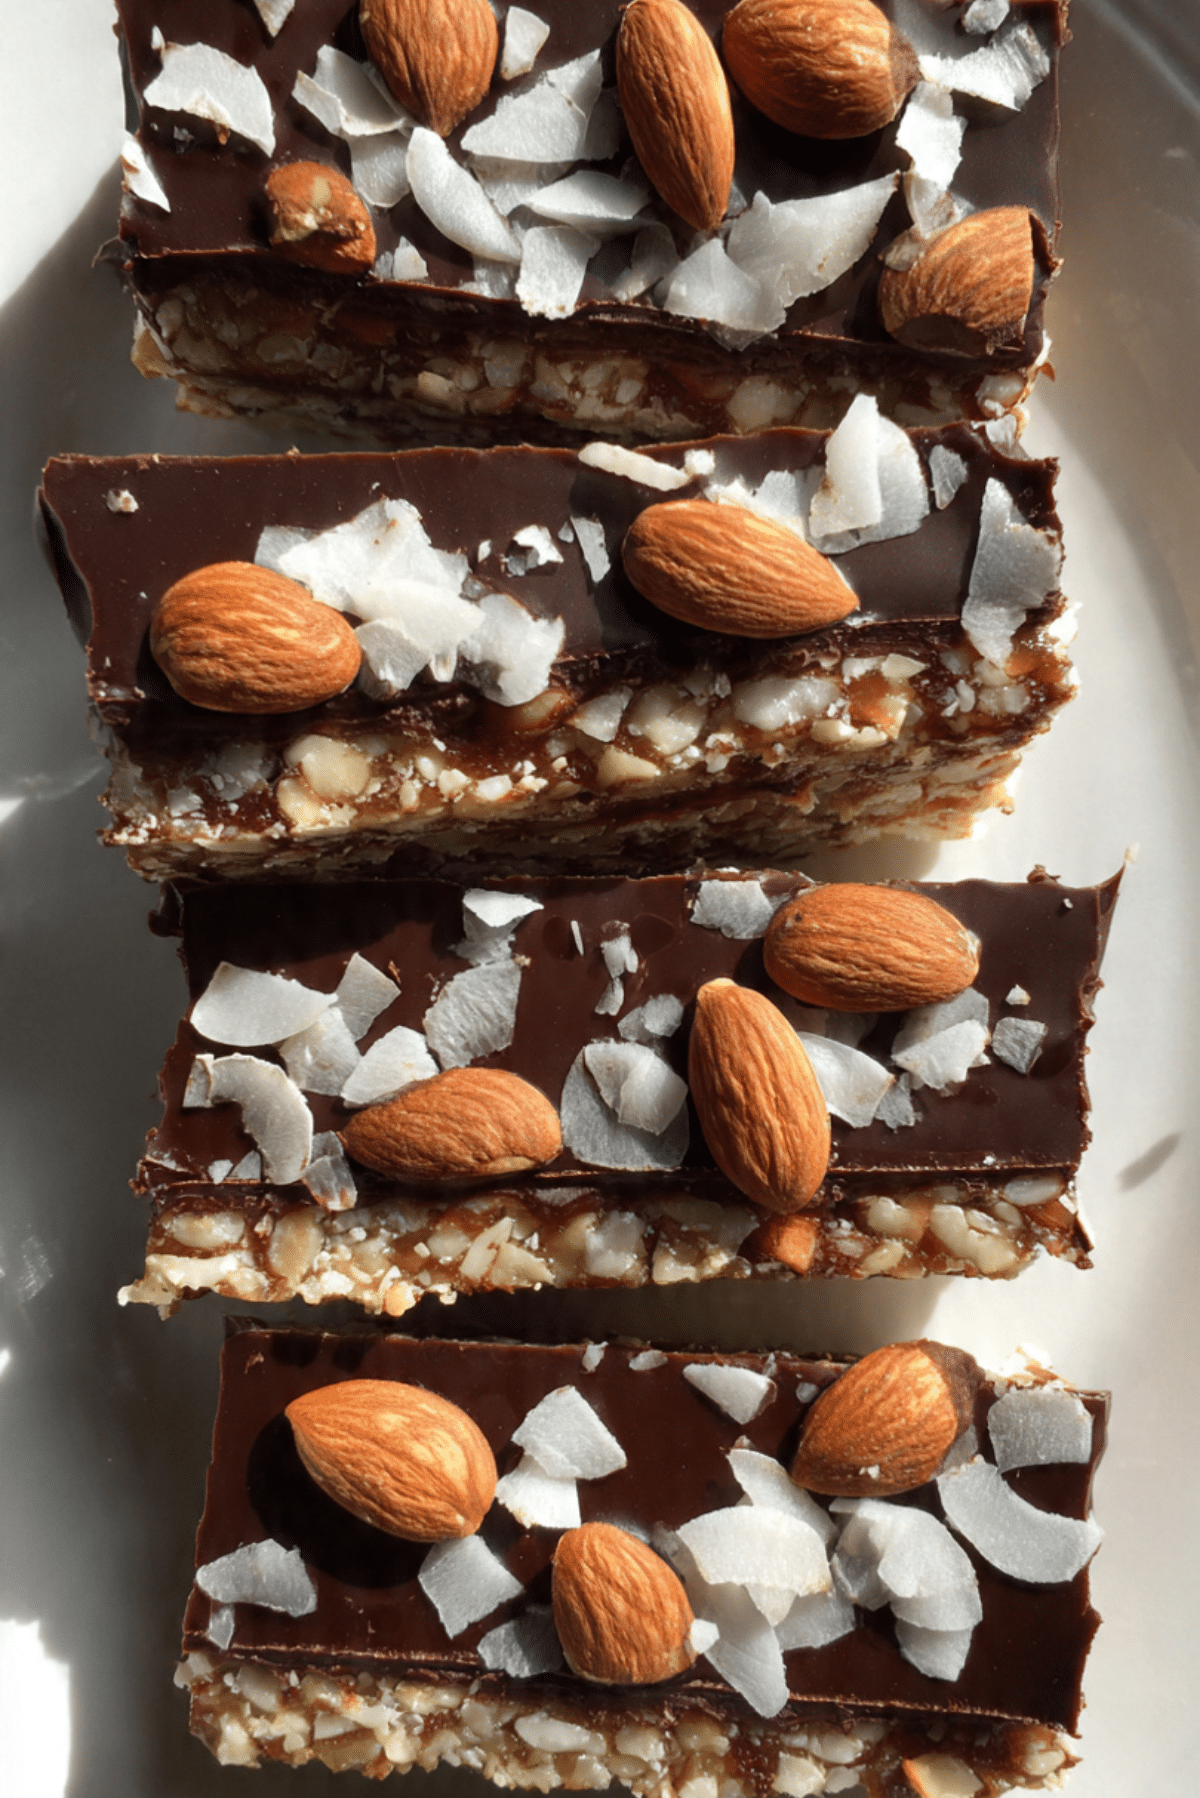
Homemade Almond Joy Bars
There is something incredibly satisfying about recreating a classic treat right in your own kitchen, and these homemade almond joy bars truly bring that magic to life. Each bite is a perfect balance of sweet coconut, crunchy almonds, and smooth chocolate that melts just enough to keep you coming back for more. Trust me, you’re going to love this, especially when you realize how simple it is to make something that tastes this indulgent.
A Sweet Treat That Feels Like Pure Comfort
It all starts with that familiar flavor combination we all know and crave. The chewy coconut center pairs beautifully with the rich chocolate coating, while the almonds add just the right amount of crunch. This one’s a total game-changer because it captures everything you love about the classic version, but with a fresher, more homemade feel that makes each bite even better.
A Little Backstory Behind This Chocolate Coconut Favorite
These bars are inspired by a well-loved candy that has been around for decades, combining tropical coconut flavors with creamy chocolate. While the original version became a household name, making it at home gives you control over the ingredients and lets you enjoy a more authentic, less processed version. It’s a fun way to bring a nostalgic treat into your own kitchen with a personal touch.
Why You’ll Keep Coming Back to This Recipe
Once you make these, it becomes clear why they are worth repeating again and again.
Versatile: You can shape them into bars or bite-sized pieces depending on the occasion.
Budget-Friendly: Simple pantry ingredients keep costs low without sacrificing flavor.
Quick and Easy: No complicated techniques, just straightforward steps anyone can follow.
Customizable: Adjust sweetness or chocolate type to match your taste.
Crowd-Pleasing: Everyone recognizes the flavor and loves the homemade upgrade.
Make-Ahead Friendly: They store beautifully, making them perfect for prepping ahead.
Great for Leftovers: If you somehow have extras, they stay delicious for days.
Pro Tips for Perfect Results Every Time
Getting that perfect texture and flavor is easier than you think, especially with a few insider tips.
- Use unsweetened coconut and adjust sweetness with condensed milk for better control
- Chill the bars before dipping them in chocolate to help them hold their shape
- Melt chocolate slowly to keep it smooth and glossy
- Press the coconut mixture firmly so the bars do not crumble
Kitchen Tools That Make It Easier
Before you dive in, having the right tools makes the process smoother.
Mixing Bowl: For combining the coconut and condensed milk evenly.
Spatula: Helps press and spread the mixture neatly.
Baking Tray: Used for shaping and chilling the bars.
Parchment Paper: Prevents sticking and makes cleanup easier.
Microwave or Double Boiler: For gently melting the chocolate.
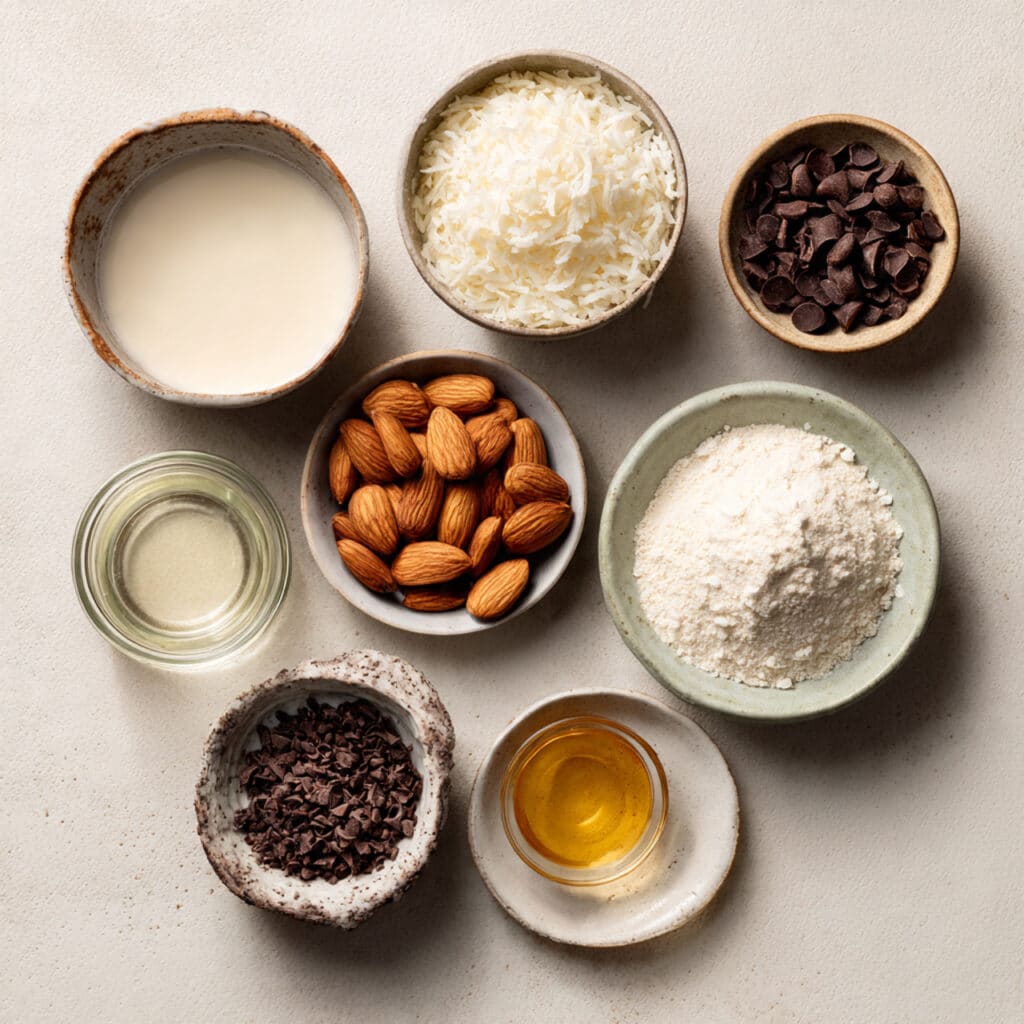
Ingredients That Bring Everything Together
Now let’s talk about what makes these bars so irresistible, each ingredient plays its own role in building that signature taste.
- Shredded Coconut: 2 cups, gives the bars their chewy texture and tropical flavor
- Sweetened Condensed Milk: 1 cup, binds everything together and adds sweetness
- Vanilla Extract: 1 teaspoon, enhances the overall flavor
- Whole Almonds: 24 almonds, adds crunch and that classic topping
- Semi-Sweet Chocolate Chips: 2 cups, creates the rich outer coating
- Coconut Oil: 1 tablespoon, helps the chocolate melt smoothly
Easy Swaps If You Want to Switch Things Up
If you feel like experimenting, there are a few simple substitutions you can try.
Shredded Coconut: Use unsweetened or sweetened depending on preference
Semi-Sweet Chocolate: Try dark chocolate for a richer flavor or milk chocolate for extra sweetness
Coconut Oil: Swap with butter if needed
Whole Almonds: Use chopped almonds or other nuts like cashews
Spotlight on Key Ingredients
Some ingredients truly define this recipe and deserve a little extra attention.
Shredded Coconut: This is the heart of the bars, giving them their signature chew and flavor.
Semi-Sweet Chocolate: It balances the sweetness of the filling with a smooth, slightly bitter finish.
Let’s Get Cooking Step by Step
And now let’s dive into the process where everything comes together in the most satisfying way.
- Preheat Your Equipment: Line a baking tray with parchment paper and set it aside.
- Combine Ingredients: In a bowl, mix shredded coconut, condensed milk, and vanilla until fully combined.
- Prepare Your Cooking Vessel: Spread the mixture onto the tray and press it firmly into an even layer.
- Assemble the Dish: Cut into bar shapes and place one almond on top of each piece.
- Cook to Perfection: Chill the bars in the refrigerator for at least 1 hour until firm.
- Finishing Touches: Melt the chocolate with coconut oil, then dip each bar until fully coated.
- Serve and Enjoy: Let the chocolate set, then enjoy every bite of your homemade creation.
The Magic of Texture and Flavor
What makes these bars unforgettable is the contrast between textures. The coconut center stays soft and slightly chewy, while the chocolate coating adds a smooth snap. The almonds bring a subtle crunch that ties everything together. Let me tell you, it’s worth every bite.
Helpful Tips for the Best Outcome
A few extra tips can take your results from good to amazing.
- Chill thoroughly before dipping to prevent breaking
- Use a fork when dipping to let excess chocolate drip off
- Work in batches to keep everything neat
What to Watch Out For While Making Them
Even simple recipes have a few things to keep in mind.
- Do not skip chilling, or the bars may fall apart
- Avoid overheating chocolate, which can make it thick and dull
- Do not overpack the mixture too loosely, or it will crumble
Quick Nutrition Snapshot
Servings: 12
Calories per serving: 220
Note: These are approximate values.
Time Breakdown for This Recipe
Prep Time: 15 minutes
Cook Time: 0 minutes
Total Time: 1 hour 15 minutes
Make Ahead and Storage Tips
These bars are perfect for planning ahead. You can prepare them a day in advance and store them in an airtight container in the refrigerator. They also freeze well, just place them in a sealed container and thaw slightly before serving. Reheating is not needed, they are best enjoyed chilled or at room temperature.
How to Serve Them for Maximum Enjoyment
Serve these bars slightly chilled for the best texture. Pair them with a glass of cold milk or a warm drink for contrast. They also make a great addition to dessert platters or snack boards.
Creative Ways to Use Leftovers
If you have extras, you can crumble them over ice cream or chop them into smaller bites for snack packs. They also work well as a topping for yogurt or blended into dessert shakes.
Extra Tips to Make Things Even Better
Keep your workspace clean and organized as you go. Use high-quality chocolate for the best flavor. And do not rush the chilling process, it really makes a difference.
Make Them Look Absolutely Stunning
For a more polished look, drizzle extra melted chocolate over the top or sprinkle a bit of coconut for decoration. Neatly cut edges also make a big difference when serving.
Fun Variations to Try Next Time
Try adding a thin layer of caramel for extra richness. Swap almonds for hazelnuts for a different crunch. Add a pinch of sea salt on top for a sweet and salty twist. You can even shape them into small balls for bite-sized treats.
FAQ’s
Q1: Can I use sweetened coconut?
Yes, but you may want to reduce the condensed milk slightly to balance sweetness.
Q2: How long do they last?
They stay fresh in the fridge for up to one week.
Q3: Can I freeze them?
Yes, they freeze well for up to two months.
Q4: Why are my bars falling apart?
They may not have been chilled long enough or pressed firmly enough.
Q5: Can I use dark chocolate?
Absolutely, it adds a richer and less sweet flavor.
Q6: Do I need coconut oil?
It helps with smooth melting, but you can skip it if needed.
Q7: Can I make them vegan?
Yes, use a dairy-free condensed milk alternative.
Q8: Can I make them without nuts?
Yes, simply skip the almonds.
Q9: How do I get clean cuts?
Use a sharp knife and wipe it between cuts.
Q10: Can I double the recipe?
Yes, just use a larger tray and adjust quantities accordingly.
Conclusion
Making these homemade almond joy bars is more than just following a recipe, it’s about creating something nostalgic, rich, and completely satisfying right in your own kitchen. Once you try them, you will see just how easy and rewarding it is to bring this classic treat to life.
Print
Homemade Almond Joy Bars
- Prep Time: 15 minutes
- Cook Time: 0 minutes
- Total Time: 1 hour 15 minutes
- Yield: 12 bars
- Category: Dessert
- Method: No-Bake
- Cuisine: American
- Diet: Vegetarian
Description
Chewy coconut bars topped with crunchy almonds and coated in smooth chocolate, a homemade version of a classic treat.
Ingredients
- 2 cups shredded coconut
- 1 cup sweetened condensed milk
- 1 teaspoon vanilla extract
- 24 whole almonds
- 2 cups semi-sweet chocolate chips
- 1 tablespoon coconut oil
Instructions
- Line a baking tray with parchment paper.
- Mix shredded coconut, condensed milk, and vanilla extract in a bowl until combined.
- Press the mixture firmly into the prepared tray.
- Cut into bars and place one almond on each piece.
- Refrigerate for at least 1 hour until firm.
- Melt chocolate chips with coconut oil until smooth.
- Dip each bar into the melted chocolate and coat evenly.
- Place back on parchment paper and allow chocolate to set.
- Serve and enjoy.
Notes
- Chill bars well before dipping for best results
- Use high-quality chocolate for better flavor
- Store in an airtight container in the fridge
Nutrition
- Serving Size: 1 bar
- Calories: 220
- Sugar: 18g
- Sodium: 40mg
- Fat: 14g
- Saturated Fat: 10g
- Unsaturated Fat: 3g
- Trans Fat: 0g
- Carbohydrates: 22g
- Fiber: 2g
- Protein: 3g
- Cholesterol: 5mg