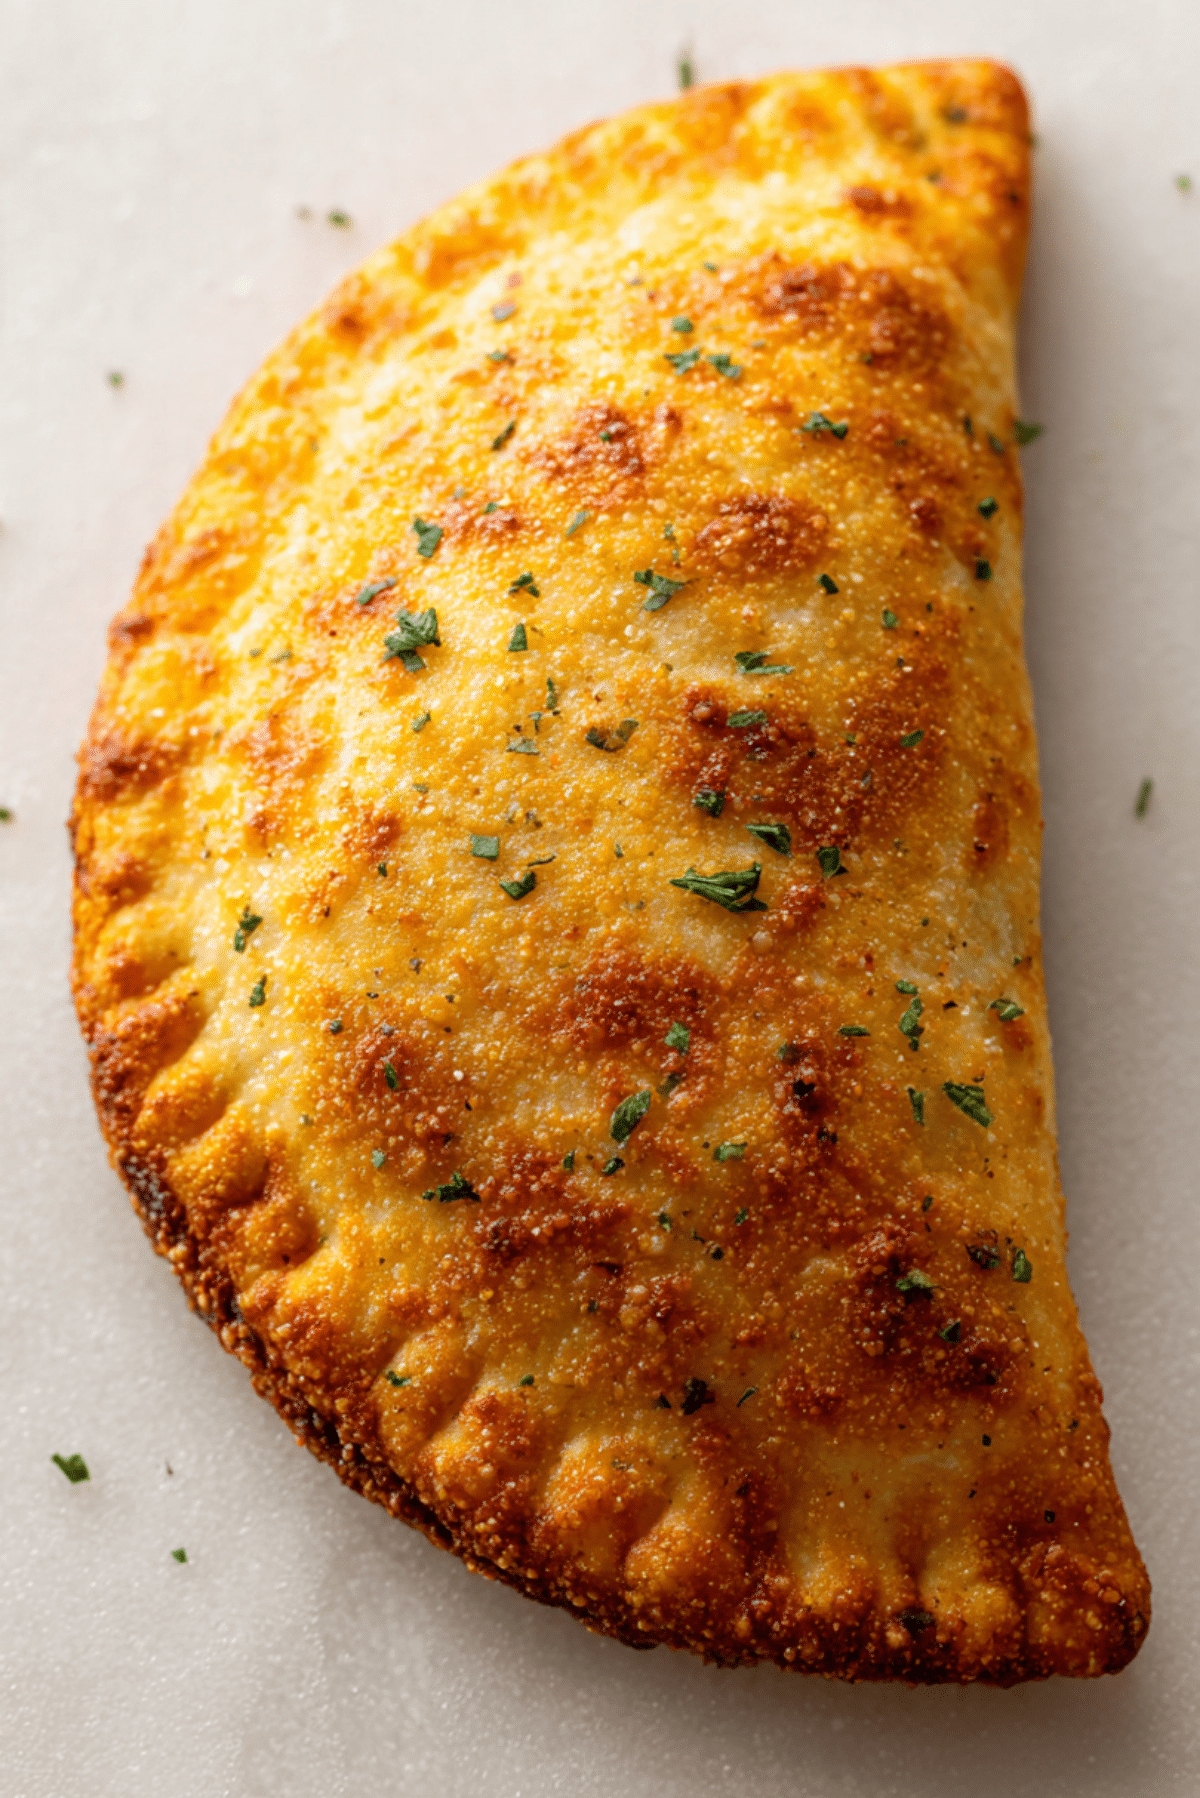
CHICKEN PIZZA POCKET
There is something almost magical about biting into a warm, crispy pocket and discovering that stretchy cheese and seasoned chicken tucked inside. It feels like pizza night, but wrapped up in the coziest, handheld form. The crust is golden and lightly crisp, the inside is soft and cheesy, and every bite gives you that comforting mix of savory chicken, tangy sauce, and herbs. Trust me, you’re going to love this.
Why This Cozy Pocket Is Pure Comfort Food
Sometimes you want pizza, but you also want something easy to hold, easy to pack, and honestly just fun to eat. That is exactly where this comes in. It brings together the flavors we all crave, but in a way that feels homemade and satisfying. The crispy coating on the outside gives way to a warm, gooey center that smells like your favorite pizzeria. This one’s a total game-changer for busy nights.
A Little Backstory Behind Stuffed Pizza Creations
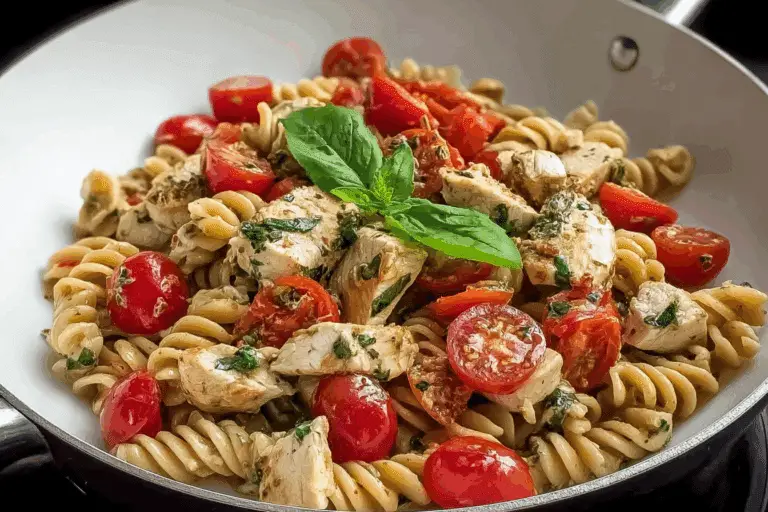
Stuffed breads have been around for centuries, from Italian calzones to hand pies found all over the world. The idea is simple and brilliant, wrap flavorful fillings inside dough and bake until golden. Over time, home cooks started adding their own twists, turning classic pizza flavors into portable pockets. This version takes inspiration from those traditions and brings them right into your kitchen in the easiest way possible.
Why You Can Count on This Recipe Every Time
Before we roll up our sleeves, let me tell you why this is one you will come back to again and again.
Versatile: You can serve it for lunch, dinner, or even as a hearty snack. It fits into almost any occasion.
Budget-Friendly: Simple ingredients like dough, chicken, and cheese keep it affordable without sacrificing flavor.
Quick and Easy: With pre-cooked chicken and ready dough, the steps are straightforward and beginner friendly.
Customizable: You can adjust the fillings, add vegetables, or switch up the cheese to suit your taste.
Crowd-Pleasing: Kids and adults both love a cheesy, handheld meal.
Make-Ahead Friendly: You can assemble these ahead of time and bake when ready.
Great for Leftovers: They reheat beautifully, making them perfect for next-day lunches.
Chef Secrets for the Best Results
Let’s talk insider tips before we dive into the ingredients.
- Do not overfill the pocket, too much filling can cause leaks while baking.
- Seal the edges tightly with a fork to keep everything tucked inside.
- Brush the outside lightly with olive oil for an extra golden finish.
- Let them rest for a few minutes after baking so the cheese sets slightly.
Kitchen Tools That Make It Easy
Having the right tools makes the process smoother and more enjoyable.
Mixing Bowl: For combining the filling evenly.
Baking Sheet: A sturdy sheet ensures even browning.
Parchment Paper: Prevents sticking and makes cleanup easier.
Fork: Perfect for sealing the edges neatly.
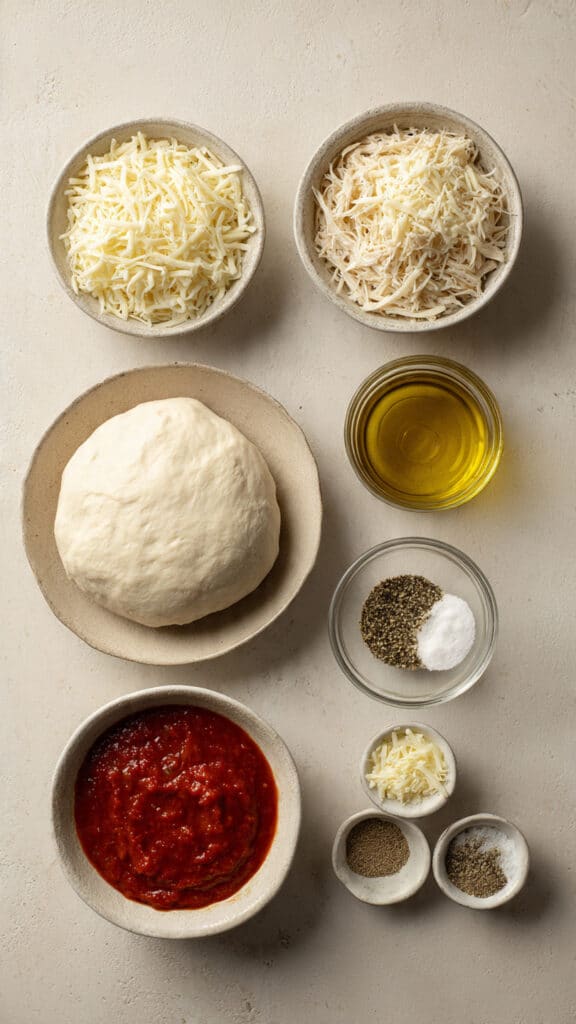
Ingredients That Bring It All Together
The beauty of this dish is how each ingredient plays its part in building flavor and texture.
- Pizza Dough: 1 pound store bought or homemade dough, forms the soft yet crisp outer layer.
- Cooked Chicken: 2 cups shredded chicken, provides hearty protein and savory flavor.
- Mozzarella Cheese: 1 1/2 cups shredded, melts beautifully and creates that irresistible stretch.
- Pizza Sauce: 1/2 cup, adds tangy tomato richness.
- Italian Seasoning: 1 teaspoon, enhances the classic pizza flavor.
- Olive Oil: 1 tablespoon for brushing, helps achieve a golden crust.
- Salt: 1/2 teaspoon, balances and enhances flavors.
- Black Pepper: 1/4 teaspoon, adds a gentle kick.
Easy Swaps If You Need Them
Cooking should feel flexible, not stressful.
Mozzarella Cheese: Use provolone or a pizza blend.
Cooked Chicken: Rotisserie chicken works perfectly.
Pizza Sauce: Marinara sauce can be used instead.
Spotlight on Key Flavors
Mozzarella Cheese: This is what gives you that stretchy, creamy center that makes every bite worth it.
Italian Seasoning: A small amount goes a long way, bringing warmth and that familiar pizzeria aroma.
Let’s Get Cooking
Now that everything is ready, and you can already imagine that cheesy center, let’s dive into the steps.
- Preheat Your Equipment: Preheat your oven to 400°F and line a baking sheet with parchment paper.
- Combine Ingredients: In a mixing bowl, stir together the shredded chicken, mozzarella, pizza sauce, Italian seasoning, salt, and black pepper until evenly combined.
- Prepare Your Cooking Vessel: Lightly flour your surface and roll the pizza dough into a large circle, then cut into 4 equal portions.
- Assemble the Dish: Spoon the filling onto one half of each dough portion, fold over to create a half-moon shape, and press the edges with a fork to seal.
- Cook to Perfection: Place the pockets on the baking sheet, brush the tops with olive oil, and bake for 18 to 20 minutes until golden brown.
- Finishing Touches: Remove from the oven and let rest for 5 minutes so the filling sets slightly.
- Serve and Enjoy: Serve warm and enjoy that crisp outside and gooey inside combination.
The Texture and Flavor Experience
The outside turns lightly crisp with a golden finish, while the inside stays soft and melty. The seasoned chicken blends with the tangy sauce and creamy cheese, creating a balanced bite that feels comforting and rich without being heavy.
Extra Tips for Success
A few small tweaks can make a big difference.
- Lightly score the top to allow steam to escape.
- Do not skip the resting time, it helps prevent the filling from spilling.
- Serve with extra sauce on the side for dipping.
Common Mistakes and How to Avoid Them
Even simple recipes can have a few pitfalls.
- Overfilling the dough can cause tearing, use a moderate amount.
- Not sealing the edges properly may lead to leaks, press firmly with a fork.
- Baking at too low a temperature can result in pale crust, make sure the oven is fully preheated.
Nutritional Snapshot
Servings: 4
Calories per serving: 420
Note: These are approximate values.
Time Breakdown
Prep Time: 15 minutes
Cook Time: 20 minutes
Total Time: 35 minutes
Plan Ahead and Store Like a Pro
You can assemble the pockets and refrigerate them for up to 24 hours before baking. Once baked, store leftovers in an airtight container in the refrigerator for up to 3 days. Reheat in the oven at 350°F for about 10 minutes to bring back the crisp texture. They can also be frozen before baking and baked straight from frozen with a few extra minutes added.
Serving Ideas to Make It Special
Serve with a fresh green salad for balance, or pair with roasted vegetables for a hearty dinner. A small bowl of warm pizza sauce on the side makes dipping extra fun.
Turn Leftovers into Something New
Chop leftover pockets into bite-sized pieces and toss them into a salad for a fun twist. You can also slice and serve them as party appetizers with toothpicks and dipping sauce.
Final Helpful Hints
Brush a little extra olive oil on top for deeper color. If you like extra crunch, sprinkle a bit of grated cheese on the outside before baking.
Make It Look Bakery Worthy
Serve on a wooden board with a small bowl of sauce in the center. Slice one open slightly so the melted cheese peeks out, it makes the whole presentation more inviting.
Fun Variations to Try
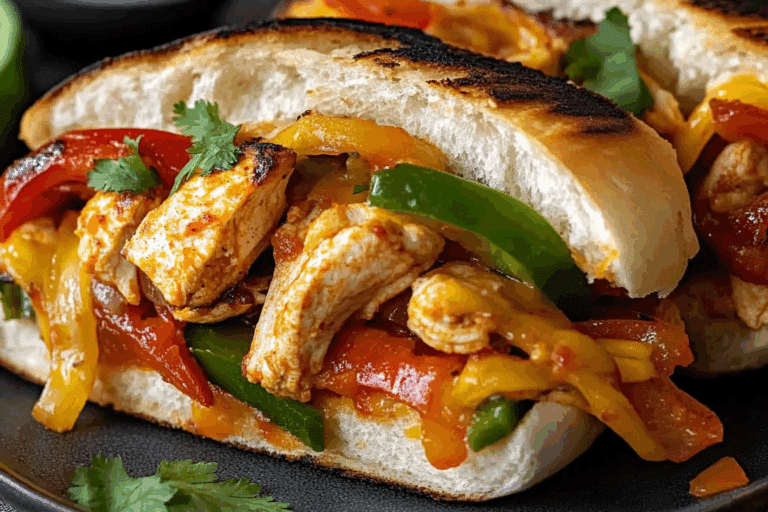
- Add diced bell peppers to the filling for extra crunch.
- Use a blend of mozzarella and cheddar for deeper flavor.
- Sprinkle a little garlic powder into the filling.
- Add chopped spinach for a fresh twist.
FAQ’s
Q1: Can I use homemade dough?
Yes, homemade dough works beautifully and gives an even fresher taste.
Q2: Can I air fry these?
Yes, cook at 375°F for about 10 to 12 minutes until golden.
Q3: Can I freeze after baking?
Yes, let them cool completely before freezing.
Q4: How do I keep them crispy?
Reheat in the oven instead of the microwave.
Q5: Can I add vegetables?
Absolutely, just avoid adding too much moisture.
Q6: What cheese melts best?
Mozzarella is ideal for that classic stretch.
Q7: Can I make them smaller?
Yes, divide the dough into smaller portions for snack size.
Q8: How do I know they are done?
They should be golden brown on top and firm to the touch.
Q9: Can I make them dairy free?
Use dairy free cheese alternatives.
Q10: Are they good for meal prep?
Yes, they store and reheat very well.
Conclusion
There is just something comforting about holding a warm, golden pocket filled with cheesy chicken goodness. It feels homemade, satisfying, and honestly a little nostalgic. Let me tell you, it’s worth every bite. Once you try these, they might just become a regular in your kitchen rotation.
Print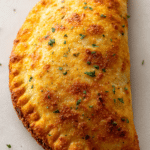
CHICKEN PIZZA POCKET
- Prep Time: 15 minutes
- Cook Time: 20 minutes
- Total Time: 35 minutes
- Yield: 4 servings
- Category: Main Course
- Method: Baking
- Cuisine: Italian Inspired
- Diet: Low Lactose
Description
Golden, crispy chicken pizza pockets filled with seasoned shredded chicken, rich pizza sauce, and melty mozzarella cheese. A handheld comfort meal that is perfect for busy weeknights, meal prep, or family dinners.
Ingredients
- 1 pound pizza dough (store bought or homemade)
- 2 cups shredded cooked chicken
- 1 1/2 cups shredded mozzarella cheese
- 1/2 cup pizza sauce
- 1 teaspoon Italian seasoning
- 1 tablespoon olive oil
- 1/2 teaspoon salt
- 1/4 teaspoon black pepper
Instructions
- Preheat oven to 400°F and line a baking sheet with parchment paper.
- In a mixing bowl, combine shredded chicken, mozzarella cheese, pizza sauce, Italian seasoning, salt, and black pepper. Mix until evenly incorporated.
- Lightly flour a surface and roll the pizza dough into a large circle. Cut into 4 equal portions.
- Spoon filling onto one half of each dough portion. Fold over to form a half-moon shape and press edges with a fork to seal tightly.
- Place pockets on the prepared baking sheet. Brush tops lightly with olive oil.
- Bake for 18 to 20 minutes, or until golden brown and crisp.
- Remove from oven and let rest for 5 minutes before serving.
Notes
- Do not overfill the dough to prevent leaks while baking.
- Let the pockets rest after baking so the cheese sets slightly.
- Serve with extra warm pizza sauce for dipping.
- Reheat leftovers in the oven to maintain crispness.
Nutrition
- Serving Size: 1 pocket
- Calories: 420
- Sugar: 4g
- Sodium: 680mg
- Fat: 18g
- Saturated Fat: 7g
- Unsaturated Fat: 9g
- Trans Fat: 0g
- Carbohydrates: 38g
- Fiber: 2g
- Protein: 28g
- Cholesterol: 75mg