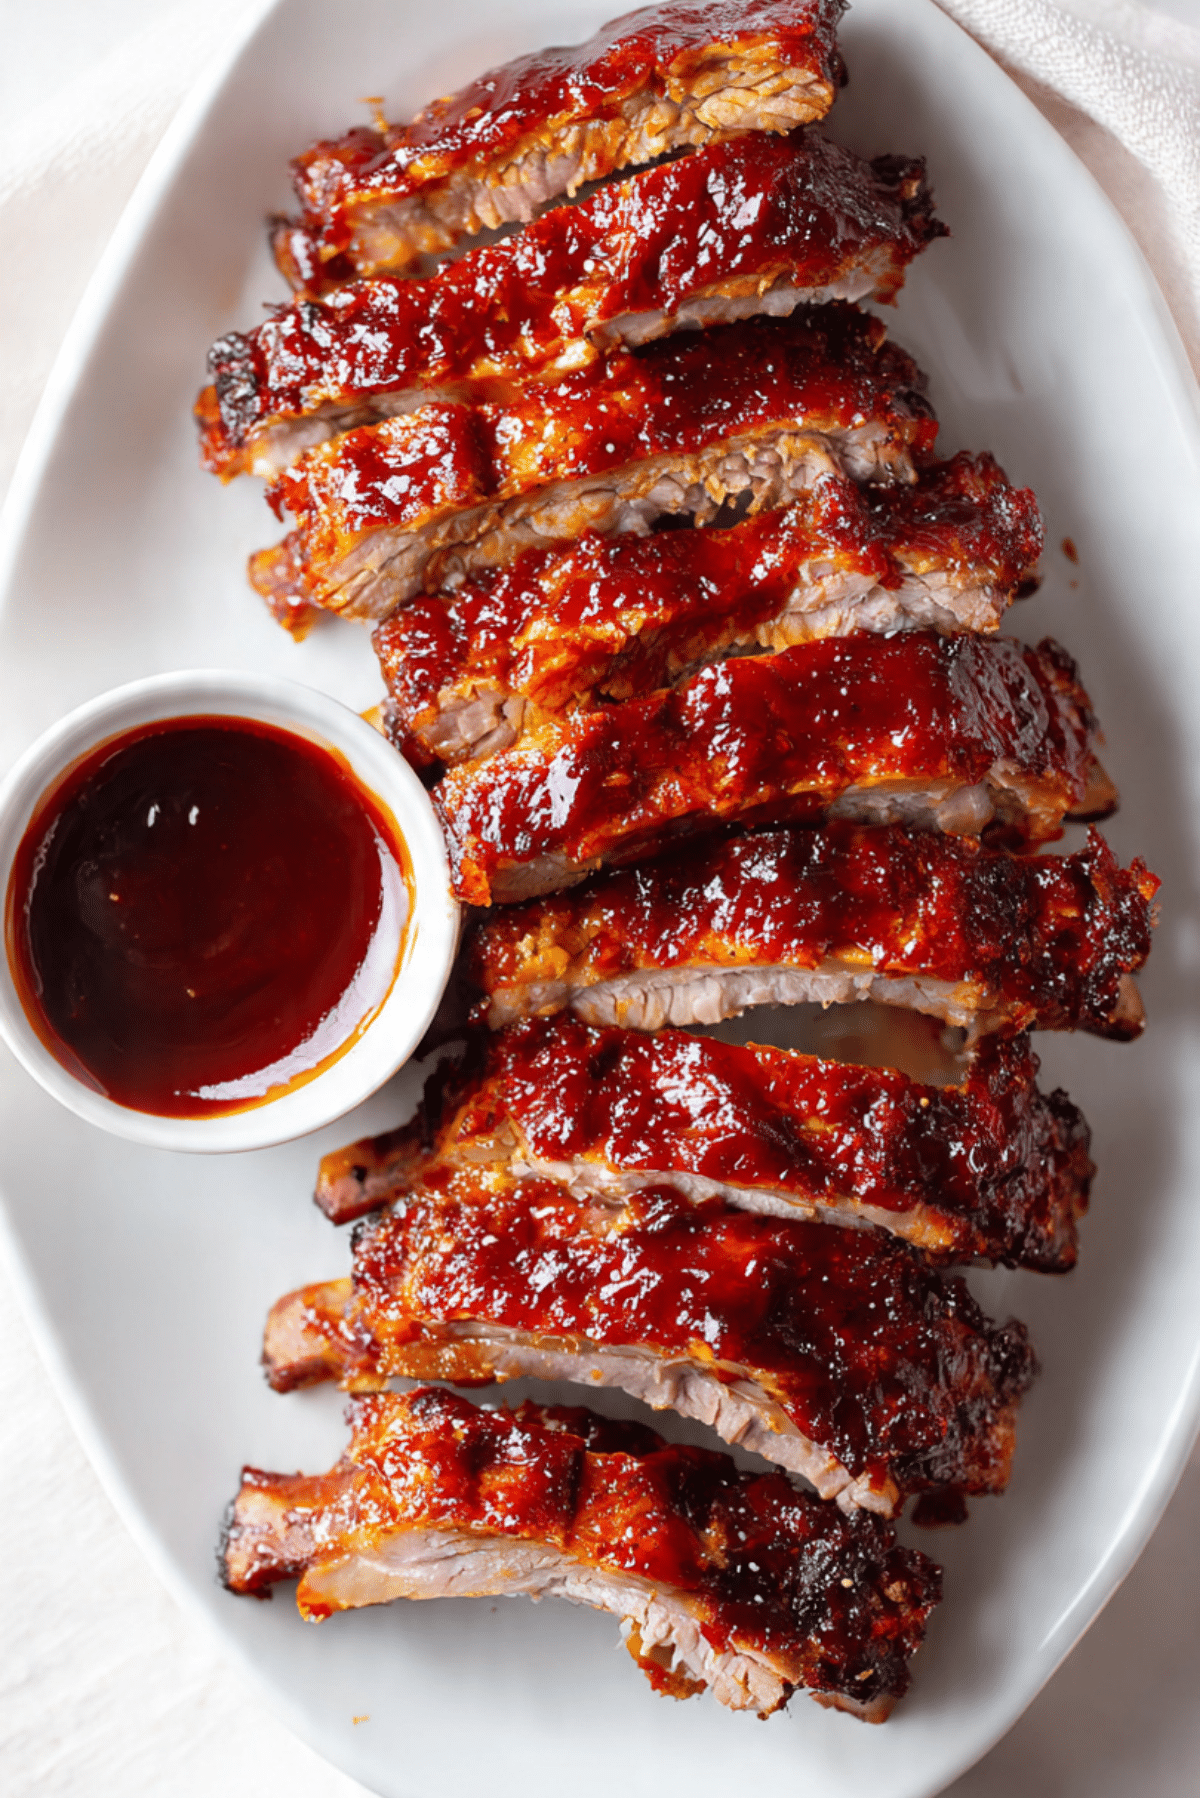
Baby Back Ribs
There is something deeply satisfying about a rack of baby back ribs that are tender, juicy, and coated in sticky barbecue sauce. This is the kind of meal that fills the house with mouthwatering aromas and brings everyone to the table without being called twice. These ribs are simple, bold, and comforting, with classic flavors that never go out of style. Trust me, you’re going to love this, because once you make them this way, it’s hard to go back.
Behind the Recipe
This recipe comes from years of wanting ribs that are truly fall-apart tender without needing fancy equipment or all-day babysitting. It started as a weekend experiment and quickly turned into a family favorite. The beauty of this method is how it locks in moisture first, then finishes with that signature barbecue glaze we all crave. It’s reliable, forgiving, and always delivers ribs that feel like a special occasion.
Recipe Origin or Trivia
Baby back ribs come from the upper part of the rib cage near the spine, which is why they are shorter, curved, and naturally more tender than spare ribs. They’ve long been a staple in American barbecue culture, especially in backyard cookouts and comfort-style home cooking. While barbecue styles vary by region, the love for saucy, tender ribs is universal.
Why You’ll Love Baby Back Ribs
These ribs earn their place as a repeat recipe for so many reasons.
Versatile: They work for casual family dinners, game days, or backyard gatherings.
Budget-Friendly: Two racks feed a crowd without breaking the bank.
Quick and Easy: Minimal prep and mostly hands-off cooking time.
Customizable: Use your favorite BBQ sauce or adjust seasoning to taste.
Crowd-Pleasing: Sticky, saucy ribs are always a hit.
Make-Ahead Friendly: Cook ahead and reheat with sauce for stress-free serving.
Great for Leftovers: They reheat beautifully and stay juicy.
Chef’s Pro Tips for Perfect Results
A few small details make a big difference when it comes to ribs.
- Remove the membrane from the back of the ribs for better tenderness.
- Season generously since ribs are thick and need bold flavor.
- Keep moisture in the cooking process to prevent drying out.
- Brush sauce on at the end to avoid burning.
- Let ribs rest briefly before slicing to lock in juices.
Kitchen Tools You’ll Need
Getting organized first makes the process smooth and enjoyable.
Large Baking Dish or Pressure Cooker: Holds the ribs comfortably during cooking.
Foil: Helps trap moisture and create tender meat.
Tongs: Makes handling hot ribs easier and safer.
Basting Brush: For spreading BBQ sauce evenly.
Sharp Knife: Needed to slice clean portions.
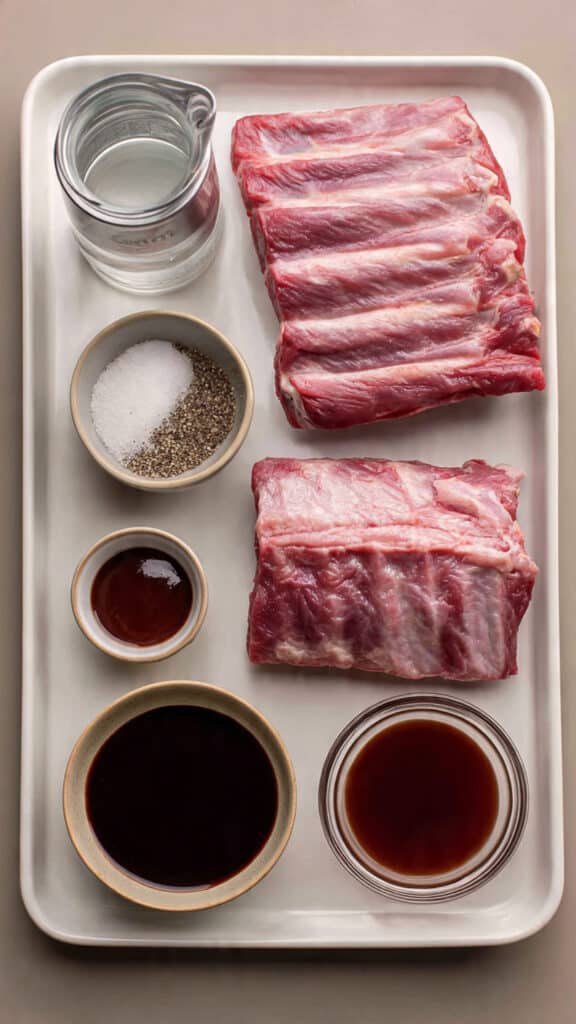
Ingredients in Baby Back Ribs
This recipe keeps things classic and lets the ribs shine.
- Baby Back Ribs: 2 racks. The star of the dish, naturally tender and meaty.
- Kosher Salt: 2 tablespoons. Enhances flavor and penetrates the meat evenly.
- Fresh Ground Black Pepper: 2 tablespoons. Adds warmth and balance.
- Water: 2 cups. Creates steam and keeps ribs moist during cooking.
- Cooking Spray: Enough to coat. Prevents sticking and makes cleanup easier.
- BBQ Sauce (for cooking liquid): ¼ cup. Infuses subtle barbecue flavor early on.
- BBQ Sauce (for finishing): 2 cups. Brings bold, sticky, classic rib flavor.
Ingredient Substitutions
If you need flexibility, here are easy swaps.
Baby Back Ribs: Spare ribs can be used, but cooking time may increase.
Kosher Salt: Sea salt works, just adjust slightly for grain size.
BBQ Sauce: Any style works, sweet, smoky, or spicy.
Water: Broth can be used for deeper flavor.
Ingredient Spotlight
Baby Back Ribs: These ribs are prized for their tenderness and quick cooking time. When cooked properly, the meat pulls cleanly from the bone and stays juicy.
BBQ Sauce: This is where personality shines. Sweet, tangy, or smoky sauces all bring a different character to the ribs.
Instructions for Making Baby Back Ribs
This method is straightforward and rewarding, perfect even if it’s your first time making ribs.
- Preheat Your Equipment: Preheat oven to 300°F and lightly coat your cooking vessel with cooking spray.
- Combine Ingredients: Season both sides of the ribs evenly with kosher salt and black pepper.
- Prepare Your Cooking Vessel: Place ribs in the dish and add water and ¼ cup BBQ sauce to the bottom.
- Assemble the Dish: Cover tightly with foil to trap steam and moisture.
- Cook to Perfection: Bake for 2½ to 3 hours until ribs are tender and meat pulls easily from the bone.
- Finishing Touches: Remove foil, brush ribs generously with remaining BBQ sauce, and return to oven uncovered for 15 to 20 minutes until sauce thickens.
- Serve and Enjoy: Slice between bones and serve hot with extra sauce on the side.
Texture & Flavor Secrets
The secret here is the two-step approach. Slow cooking with moisture breaks down connective tissue, making the ribs unbelievably tender. Finishing uncovered allows the sauce to caramelize, creating that sticky, finger-licking finish. You get soft meat, bold seasoning, and a glossy barbecue glaze in every bite.
Cooking Tips & Tricks
Keep things stress-free with these helpful ideas.
- Line the dish with foil for easier cleanup.
- Brush sauce in layers for deeper flavor.
- Use a meat thermometer if unsure, ribs are done around 190°F.
- Let ribs rest briefly before cutting.
What to Avoid
A few missteps can get in the way of great ribs.
- Cooking uncovered too early, which dries them out.
- Adding sauce at the start, which can burn.
- Rushing the cook time, tenderness needs patience.
- Skipping seasoning, ribs need bold flavor.
Nutrition Facts
Servings: 4
Calories per serving: 720
Note: These are approximate values.
Preparation Time
Prep Time: 15 minutes
Cook Time: 3 hours
Total Time: 3 hours 15 minutes
Make-Ahead and Storage Tips
These ribs are perfect for planning ahead. Cook them fully, let cool, and store covered in the refrigerator for up to 3 days. Reheat in the oven at 300°F, brushing with extra sauce to keep them moist. They can also be frozen, tightly wrapped, for up to 2 months.
How to Serve Baby Back Ribs
Serve ribs with classic sides like coleslaw, corn on the cob, or roasted potatoes. A simple green salad helps balance the richness. Don’t forget plenty of napkins, this is hands-on eating at its best.
Creative Leftover Transformations
Leftover ribs are a gift.
- Shred the meat for BBQ rib sandwiches.
- Add chopped rib meat to baked potatoes.
- Use as a topping for flatbreads or pizzas.
Additional Tips
- Warm your BBQ sauce slightly before brushing for smoother coverage.
- Slice ribs from the back side for cleaner cuts.
- Adjust sauce quantity based on how saucy you like them.
Make It a Showstopper
Brush on an extra layer of sauce right before serving and finish under the broiler for a glossy, caramelized look. Arrange ribs on a large platter and serve with sauce on the side for a bold presentation.
Variations to Try
- Spicy Ribs: Add chili powder or hot sauce to your BBQ sauce.
- Sweet Ribs: Brush with honey mixed into the sauce.
- Smoky Ribs: Use a smoked BBQ sauce for deeper flavor.
- Dry Rub Ribs: Skip sauce and finish with a spice rub.
- Oven to Grill: Finish ribs on the grill for charred edges.
FAQ’s
Q1: Do I need to remove the membrane?
Yes, removing it helps the ribs become more tender and flavorful.
Q2: Can I make these ahead of time?
Yes, they reheat very well and stay juicy.
Q3: What’s the best BBQ sauce to use?
Any brand you love works, sweet or smoky are especially popular.
Q4: How do I know the ribs are done?
The meat should pull away easily from the bone.
Q5: Can I use a pressure cooker?
Yes, reduce cooking time significantly and finish with sauce in the oven.
Q6: Should I cover ribs the whole time?
Cover for most of the cooking, then uncover to finish.
Q7: Can I double the recipe?
Absolutely, just use a larger cooking vessel.
Q8: How do I keep ribs from drying out?
Keep them covered and cook low and slow.
Q9: Can I freeze cooked ribs?
Yes, wrap tightly and freeze up to 2 months.
Q10: What sides go best with ribs?
Coleslaw, cornbread, and roasted vegetables are great choices.
Conclusion
These Baby Back Ribs are everything comfort food should be, tender, saucy, and packed with classic flavor. They’re simple enough for a relaxed dinner and impressive enough for company. Let me tell you, it’s worth every bite, and once you make them this way, they’ll become a staple in your kitchen.
Print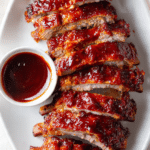
Baby Back Ribs
- Prep Time: 15 minutes
- Cook Time: 3 hours
- Total Time: 3 hours 15 minutes
- Yield: 4 servings
- Category: Main Course
- Method: Baking
- Cuisine: American
Description
Tender, juicy baby back ribs slow-cooked until fall-apart soft, then finished with a thick, sticky BBQ sauce for classic comfort-food flavor.
Ingredients
- 2 racks baby back ribs
- 2 tablespoons kosher salt
- 2 tablespoons fresh ground black pepper
- 2 cups water
- Cooking spray (as needed)
- ¼ cup BBQ sauce (for cooking liquid)
- 2 cups BBQ sauce (for finishing)
Instructions
- Preheat oven to 300°F and lightly coat a large baking dish with cooking spray.
- Season both sides of the ribs evenly with kosher salt and black pepper.
- Place ribs in the baking dish. Add water and ¼ cup BBQ sauce to the bottom of the dish.
- Cover tightly with foil and bake for 2½ to 3 hours, until ribs are tender.
- Remove foil and brush ribs generously with the remaining BBQ sauce.
- Return ribs to the oven uncovered and bake for 15–20 minutes until sauce thickens.
- Remove from oven, let rest briefly, slice, and serve.
Notes
- Remove the membrane from the back of the ribs for best texture.
- Add BBQ sauce only at the end to prevent burning.
- Let ribs rest before slicing to retain juices.
- Serve with extra sauce on the side.
Nutrition
- Serving Size: 1 portion
- Calories: 720
- Sugar: 18g
- Sodium: 980mg
- Fat: 48g
- Saturated Fat: 17g
- Unsaturated Fat: 28g
- Trans Fat: 0g
- Carbohydrates: 22g
- Fiber: 1g
- Protein: 45g
- Cholesterol: 150mg